

Table of contents
Introduction
As companies continue to expand, the challenge of maintaining up-to-date contact information for all employees becomes increasingly apparent. Traditional methods, like using a physical phonebook, can quickly become cumbersome and outdated. So, what's the solution when you need to access an employee's contact information promptly? This is where Active Directory (AD) comes in.
AD serves as a comprehensive repository for storing essential information about users, computers, and network resources within an organization. Beyond being a data storage system, it plays a vital role in managing permissions and ensuring that authorized users can access specific information securely.
This article will explain what AD is, how to install it, and how to set up users and join your machines to the domain.
What is Active Directory?
Microsoft developed AD as a directory service for Windows-based networks. AD stores information about users, computers, groups, and other network resources. It identifies these entities by their names and attributes while also taking charge of access control and the enforcement of security policies within a network environment.
Requirements for Installing Active Directory
To set up AD, you will need to have:
Virtual machine: In this tutorial, we will make use of VirtualBox.
Installing Windows Server
Windows server acts as the foundation upon which AD is built, providing the necessary infrastructure and services for managing network resources, security policies, and user accounts. Now that we've downloaded it using the link above, let's dive into our work.
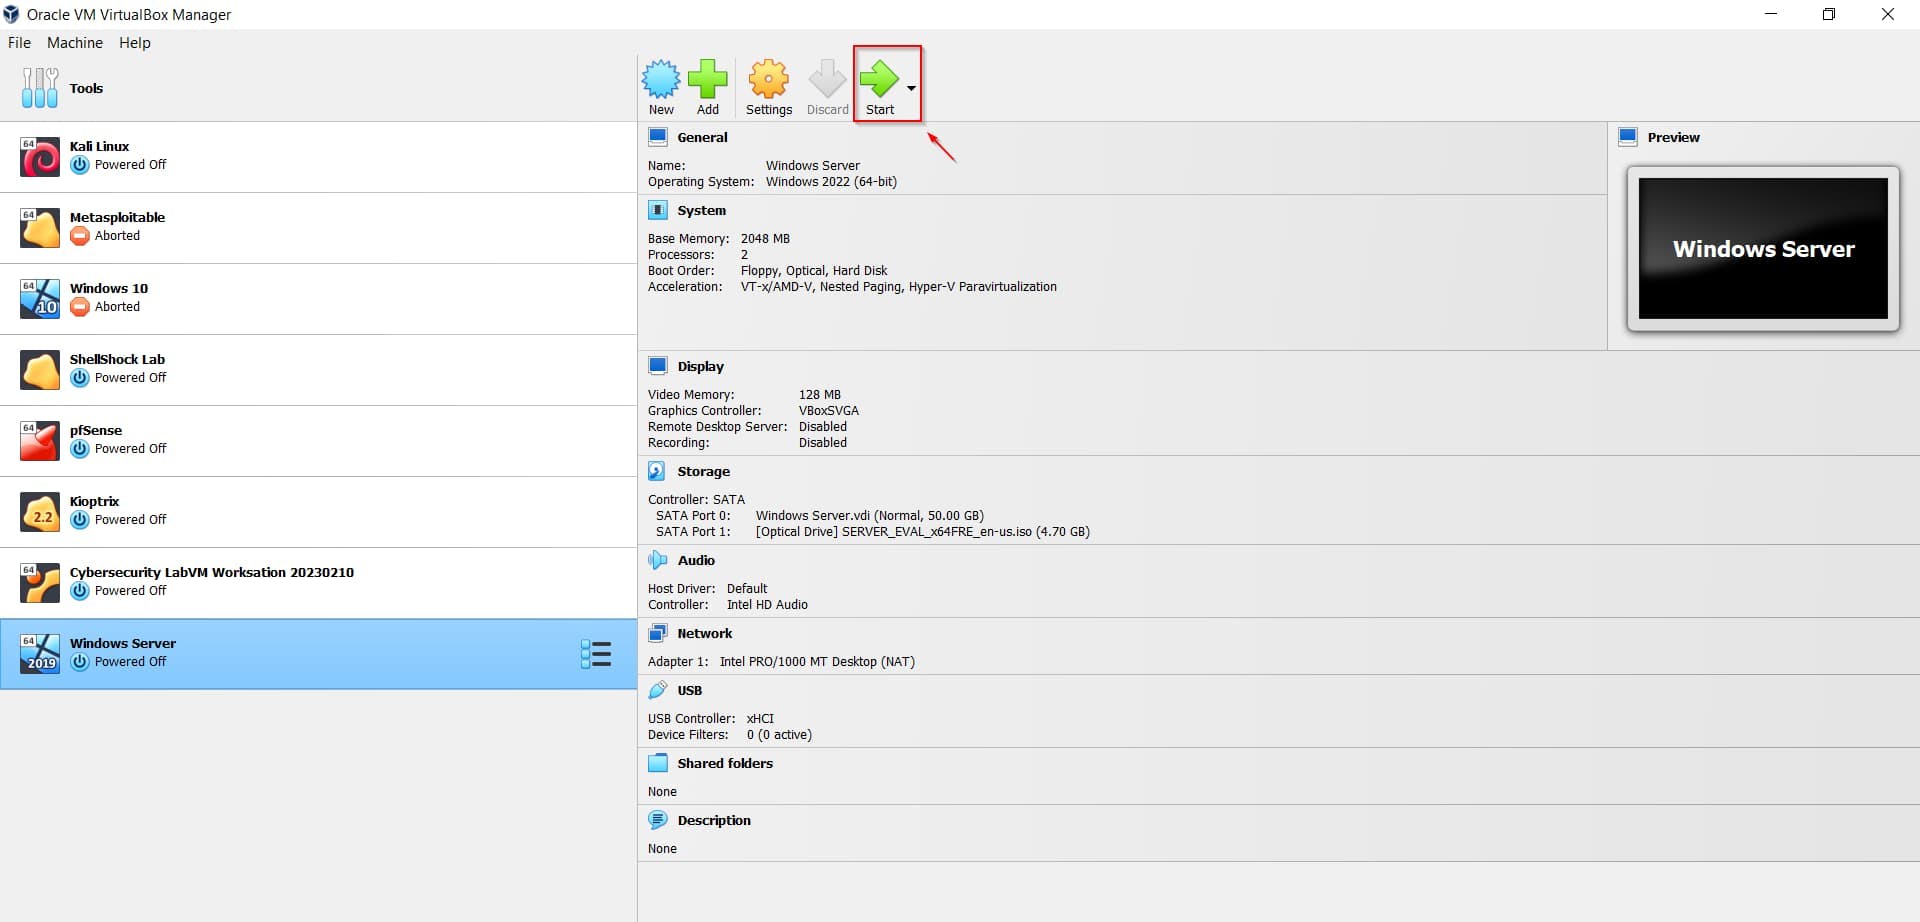
- Open VirtualBox.
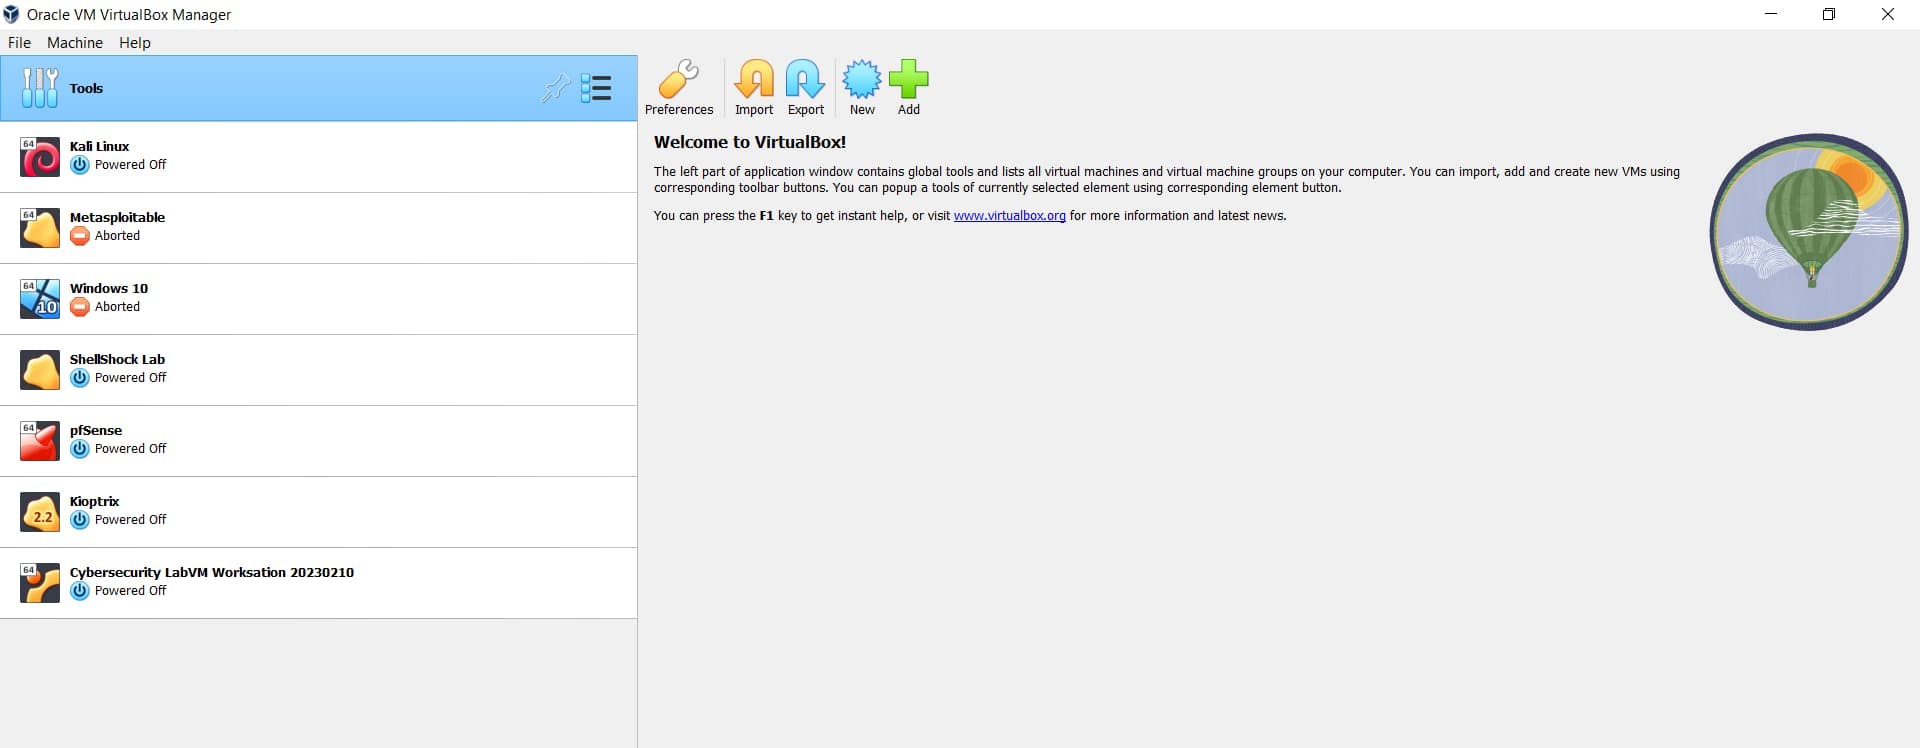
- After opening your VirtualBox, click on the New button, and a box will pop up.

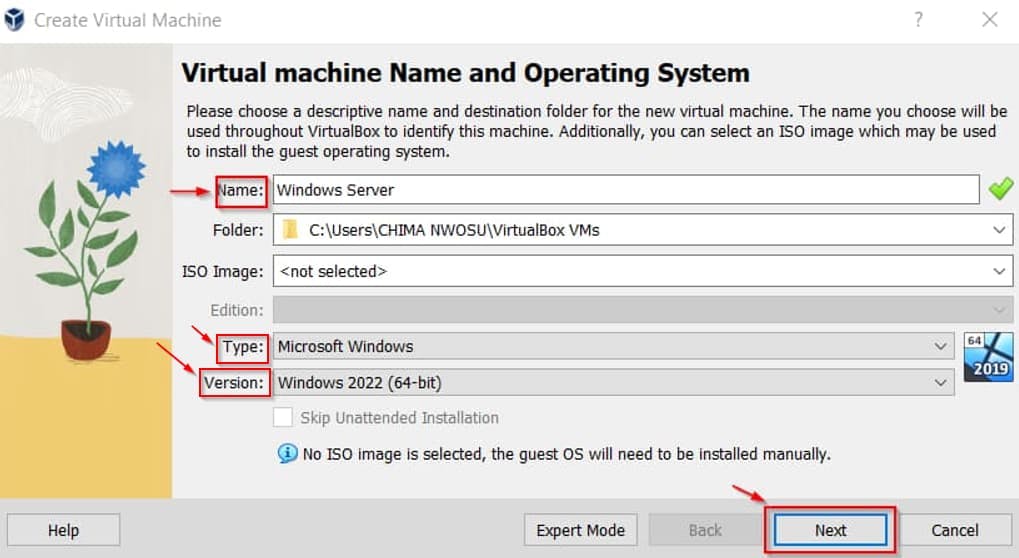
- Enter a name for the virtual machine, and select the appropriate OS type and version. Click on Next.
- Allocate your Base memory and Processors.
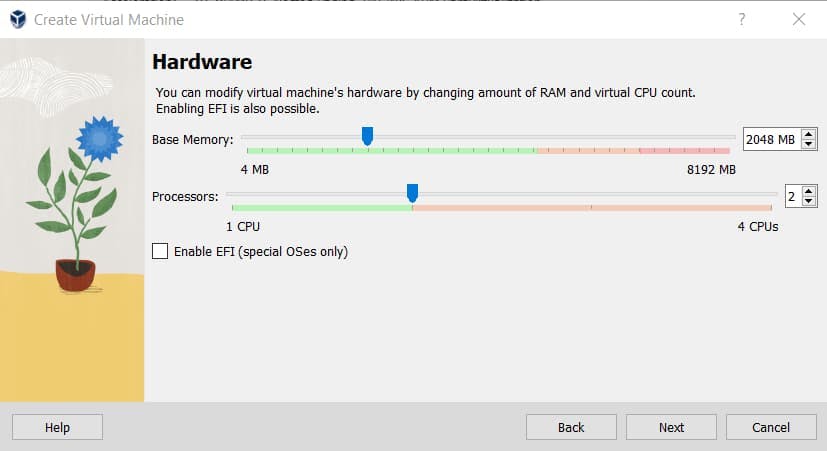
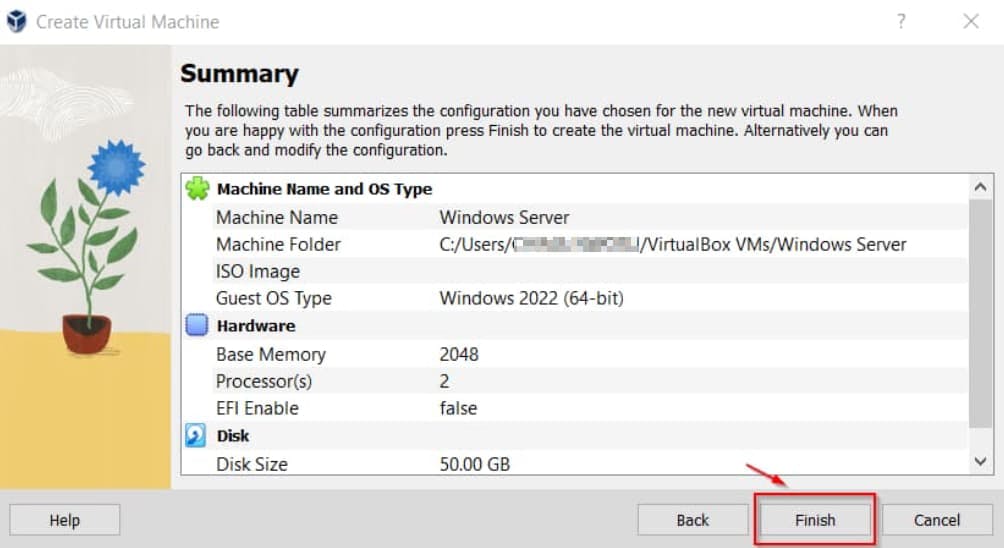
- Click on Next.

- Click on Finish.
- Click on Settings.
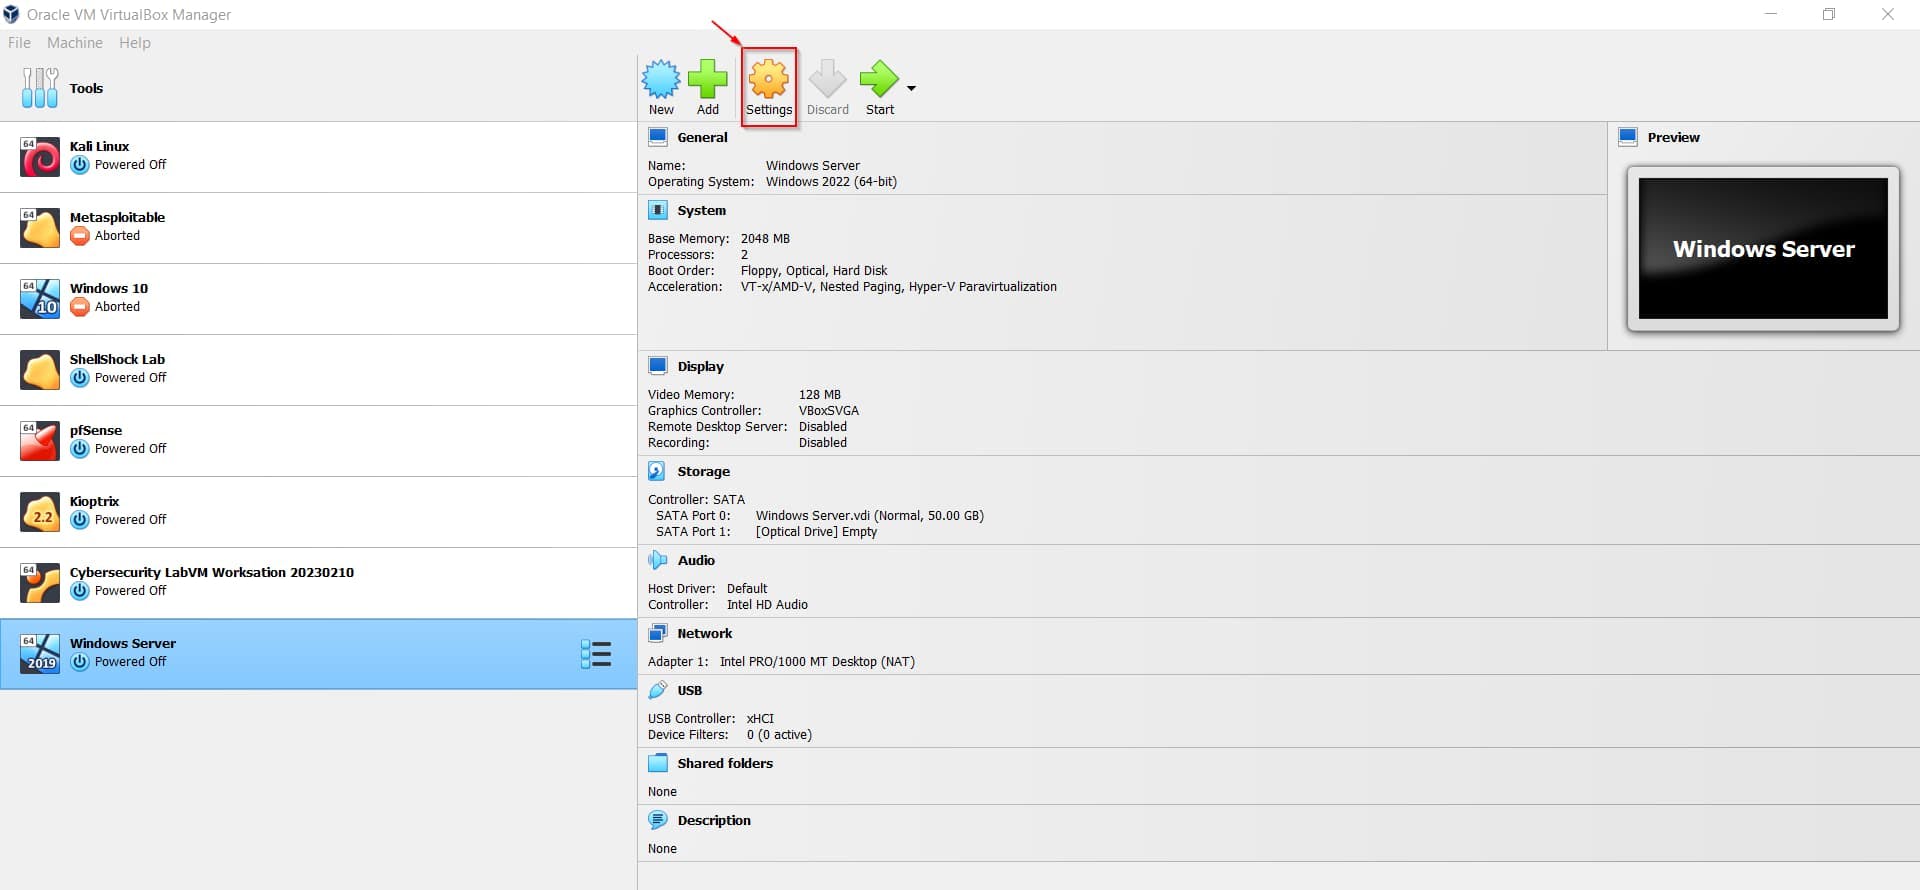
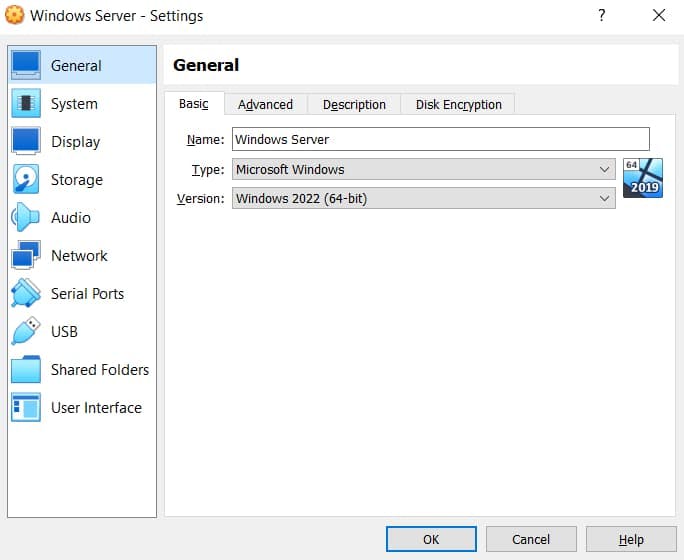
- After clicking on Settings, a box will pop up.
- Click on Storage.
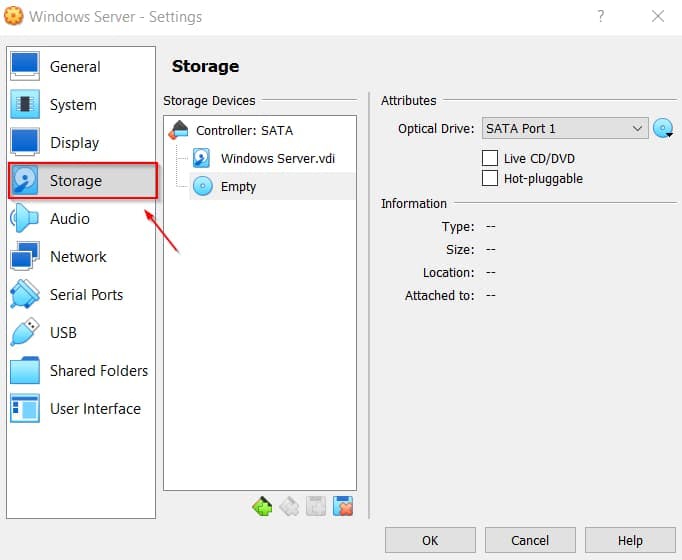
- Click on Empty.
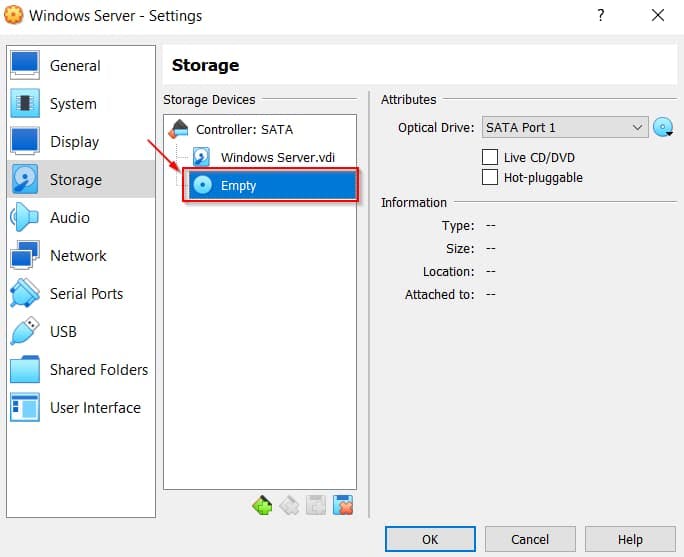
- Click on the disk icon, a drop-down will pop up.
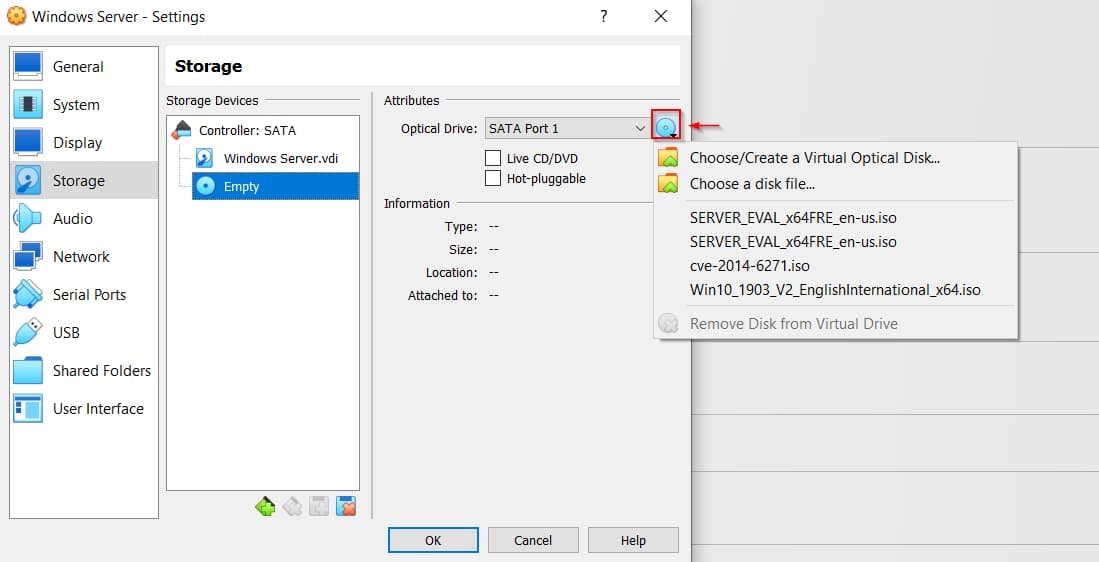
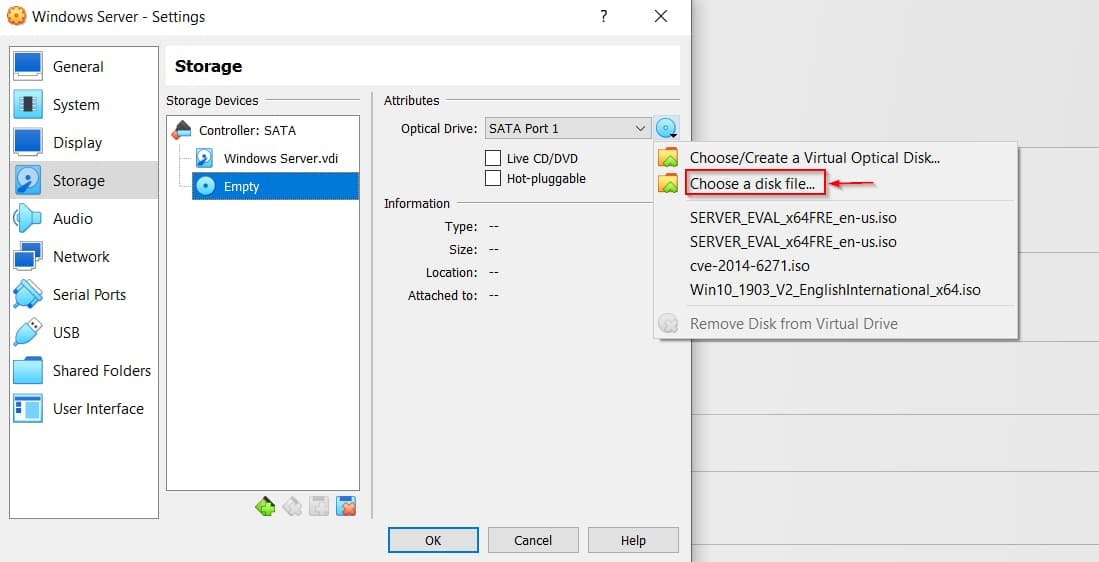
- Click on Choose a disk file, navigate to the folder where the Windows server ISO file was saved, and attach it.
- Click on OK
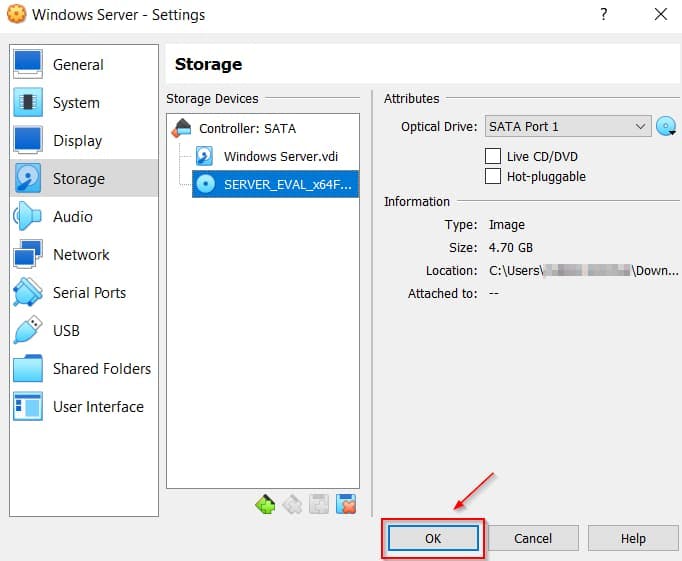
- With the ISO file attached to the virtual optical drive, start the virtual machine to install Windows Server.
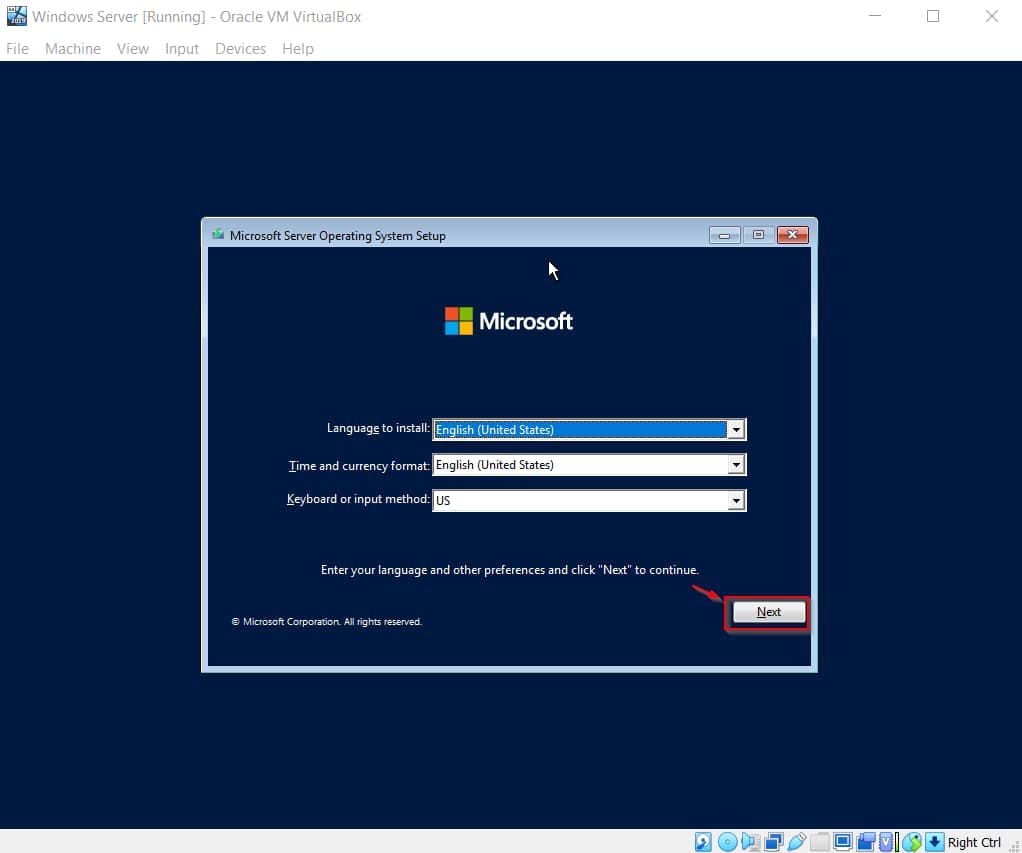
- You will be prompted to select language, time/keyboard settings. When you are done, click on Next to continue.
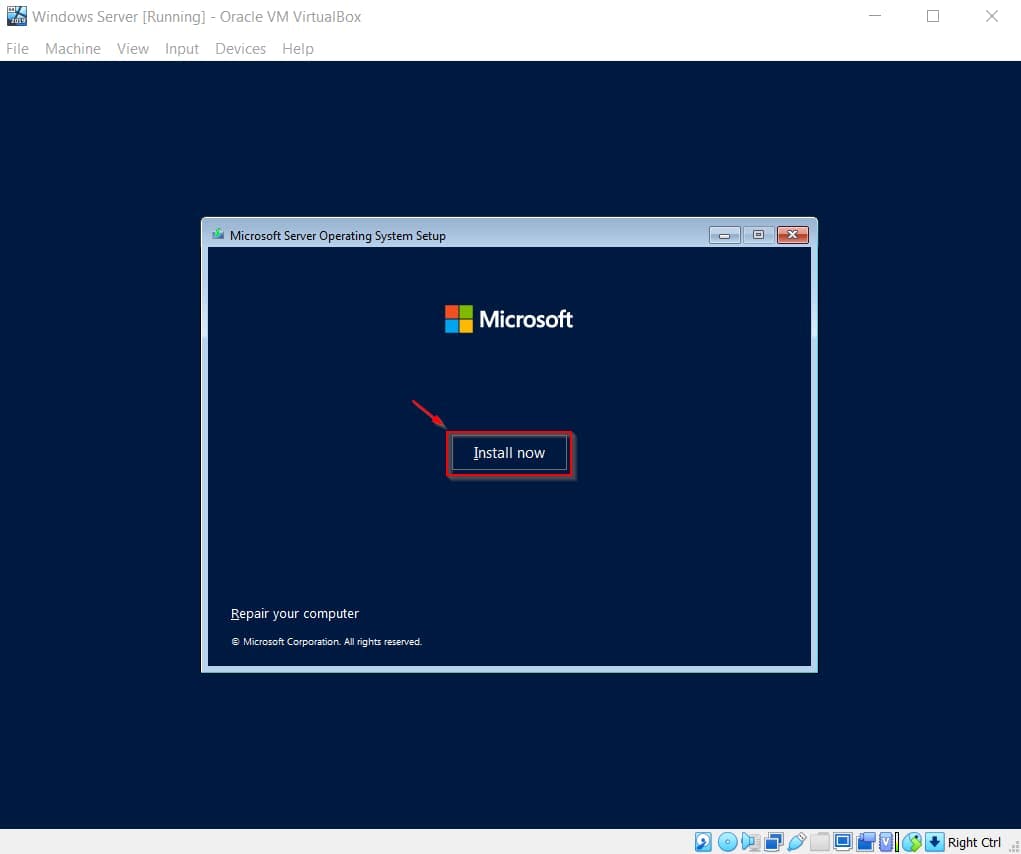
- Click on Install now.
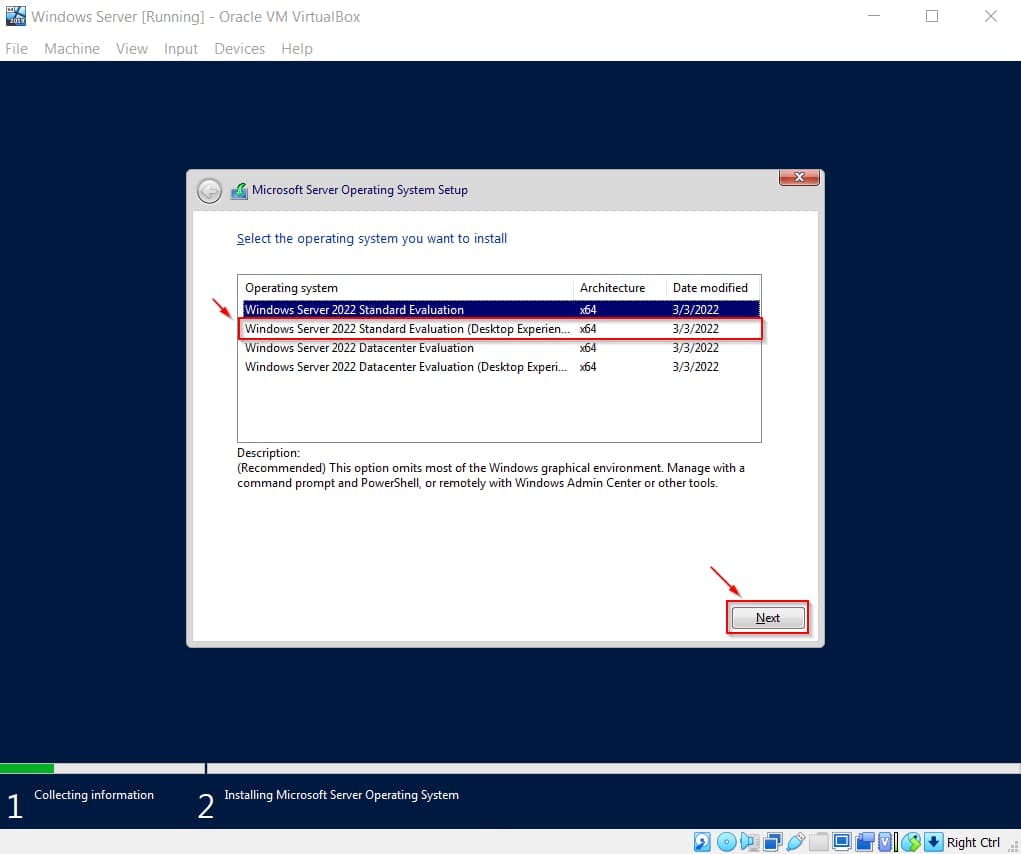
- At this point, you will receive a prompt with installation options.
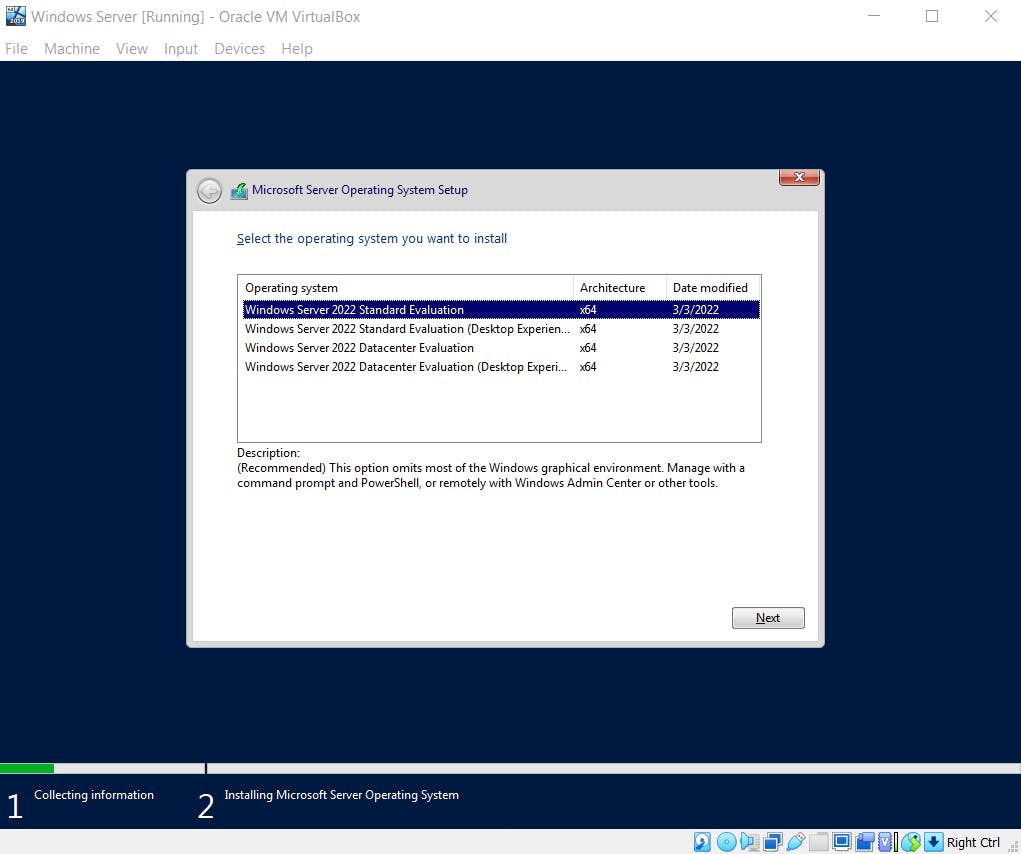
The choice between Windows Server 2022 Standard Evaluation (Desktop Experience) and Windows Server 2022 Datacenter Evaluation (Desktop Experience) depends on your needs and requirements for your setup.
For most home labs, testing environments, or small-scale virtualization, Windows Server 2022 Standard Evaluation (Desktop Experience) is a reasonable choice.
However, if you want an extensive virtualization with advanced features, and you are willing to invest in licensing costs, Windows Server 2022 Datacenter Evaluation might be more suitable.
For this tutorial, we will be setting up a home lab. Click on Windows Server 2022 Standard Evaluation (Desktop Experience) and click Next.
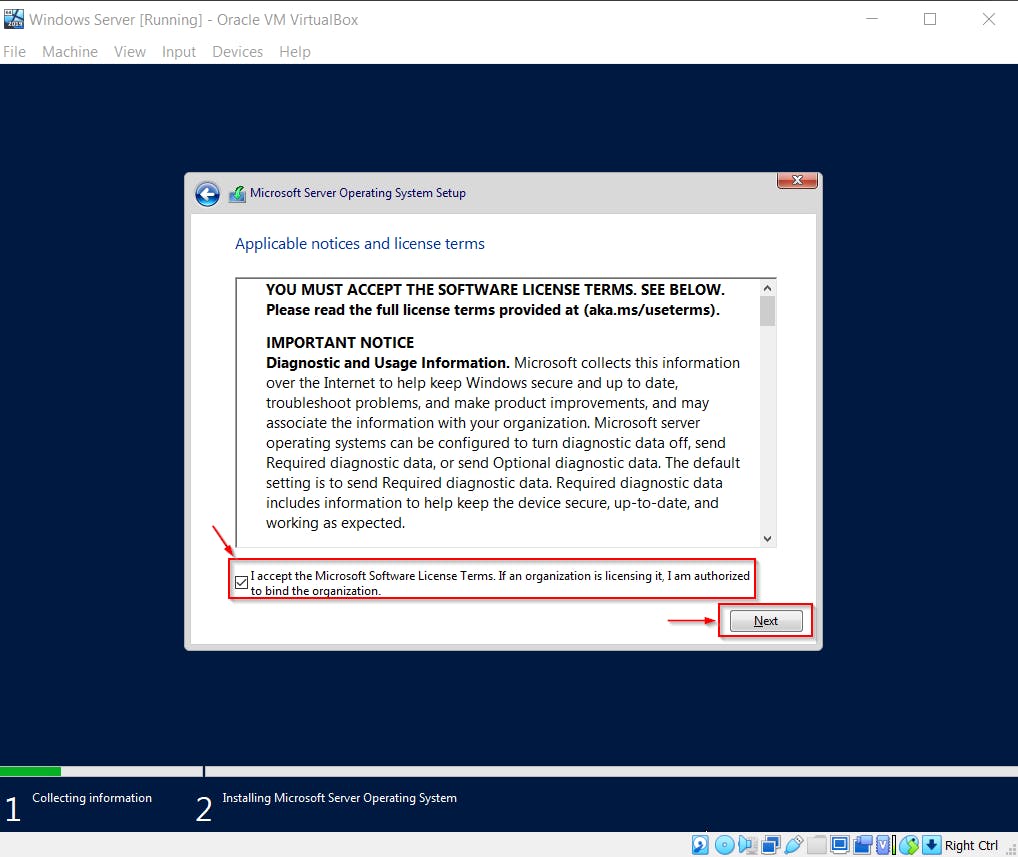
- Accept the Microsoft Software License Terms and click on Next.
- Select Custom: Install Microsoft Server Operating System only (advanced).
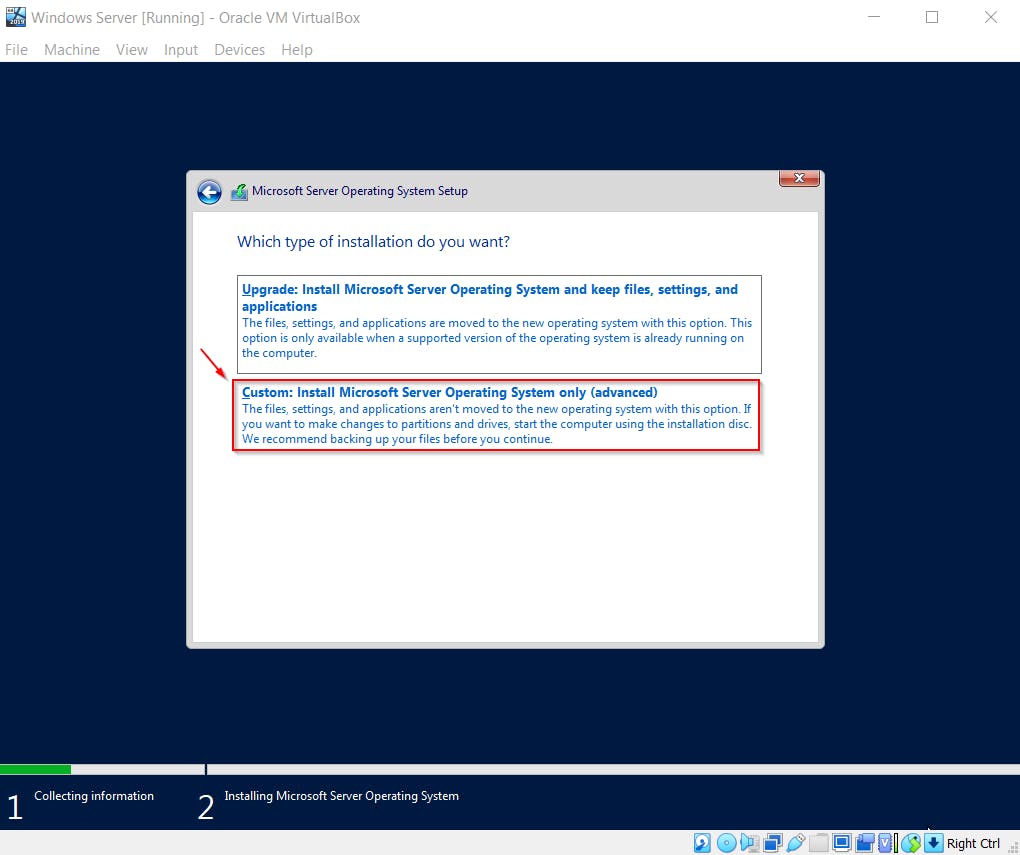
- Click on Next.
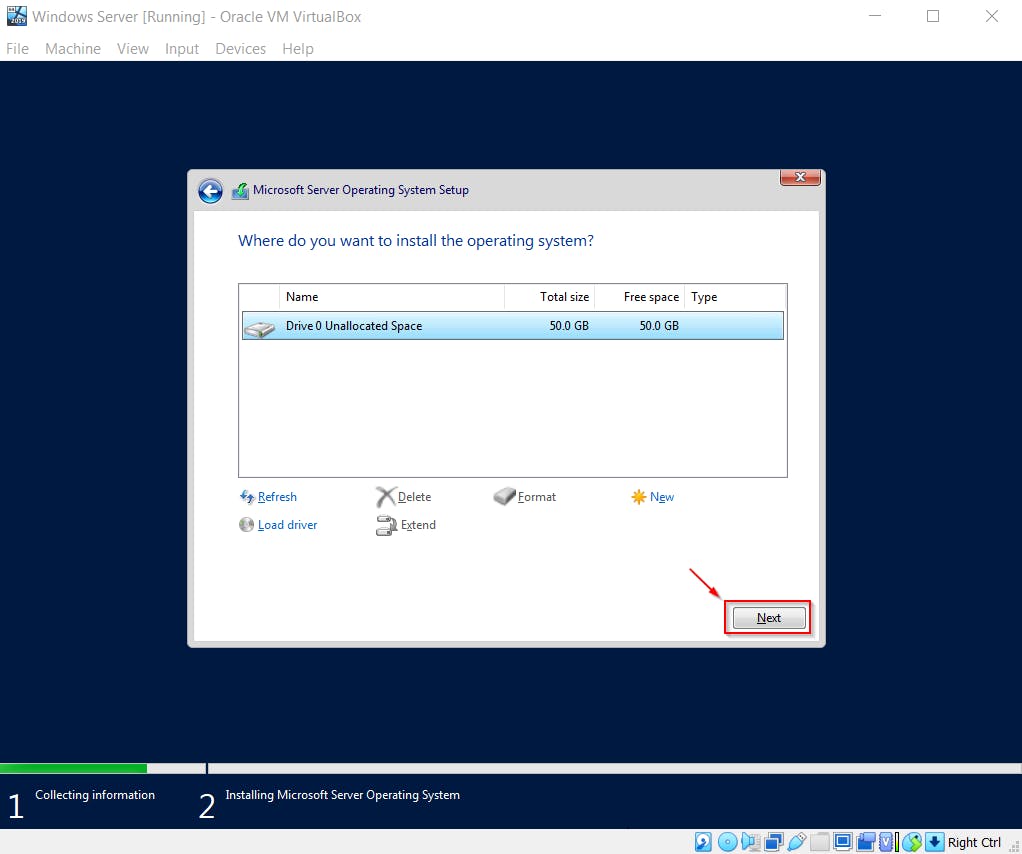
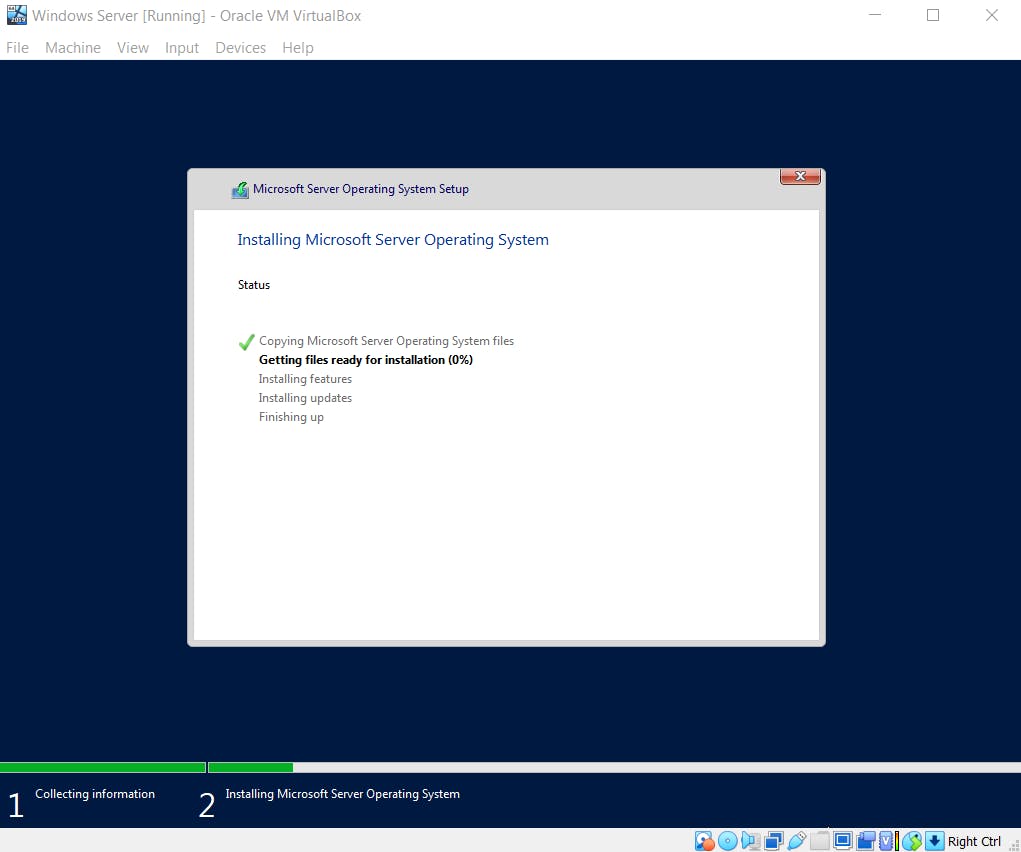
Installation in progress. This may take a while.
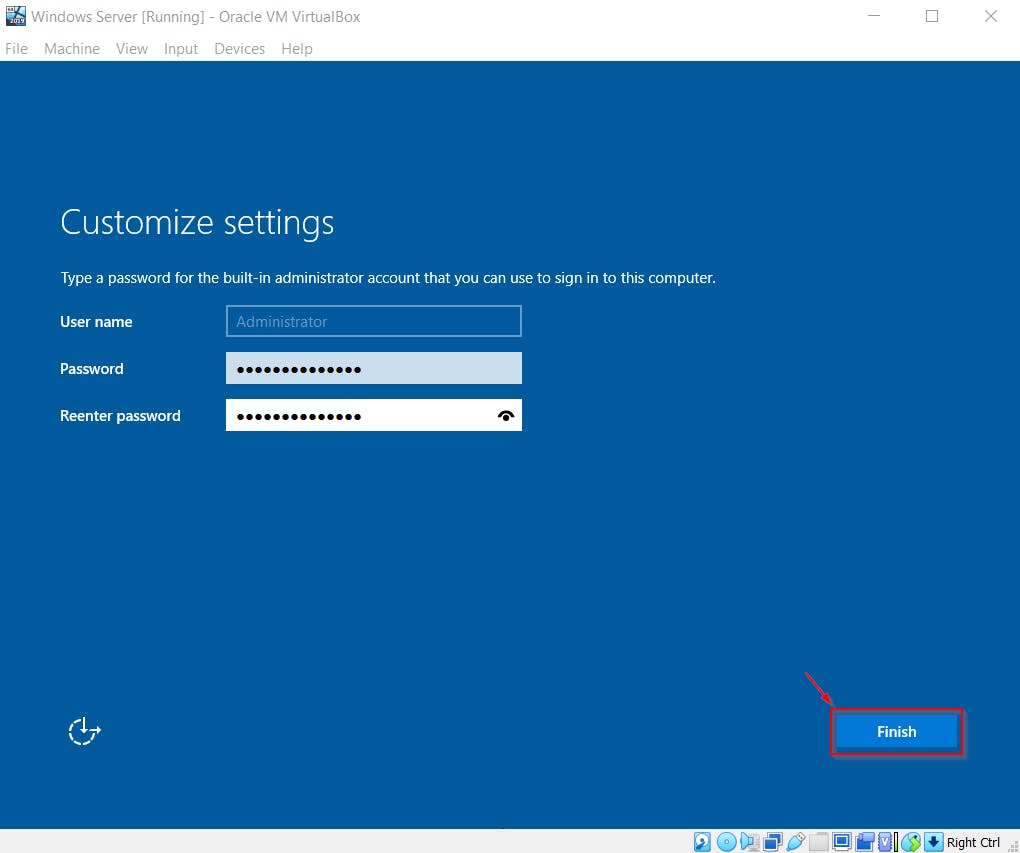
- The username is Administrator by default. Set up the user account by inputting your password. Click on Finish.
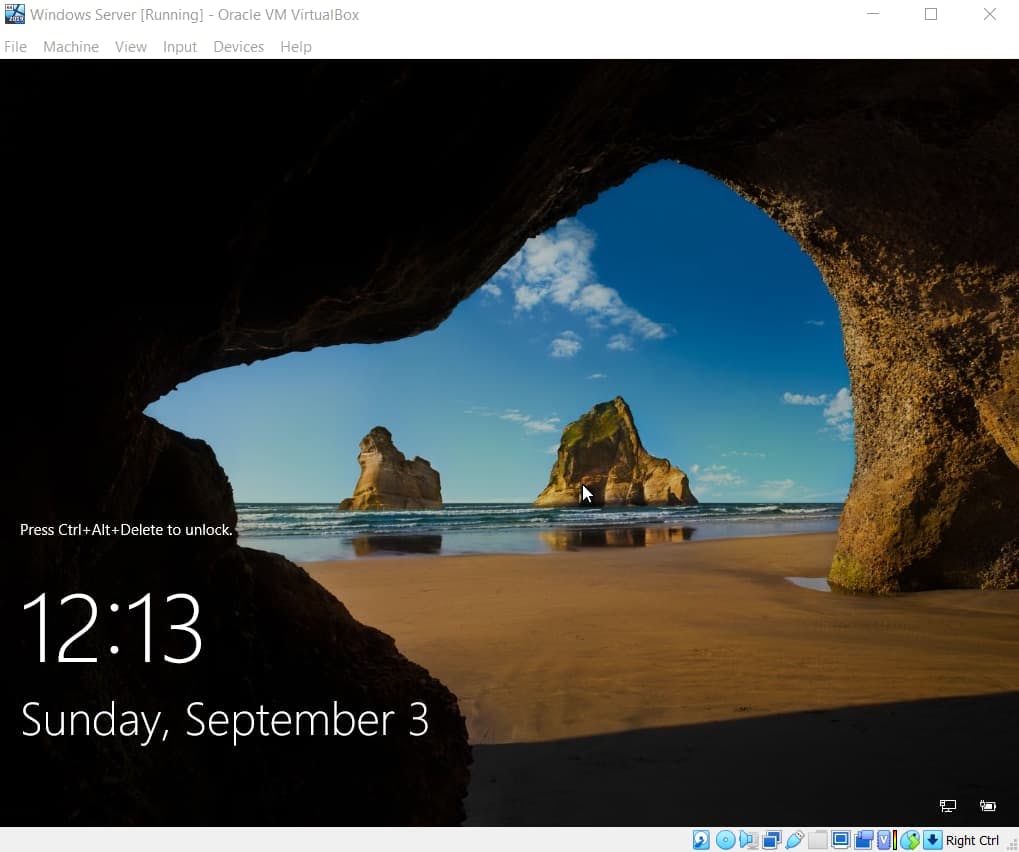
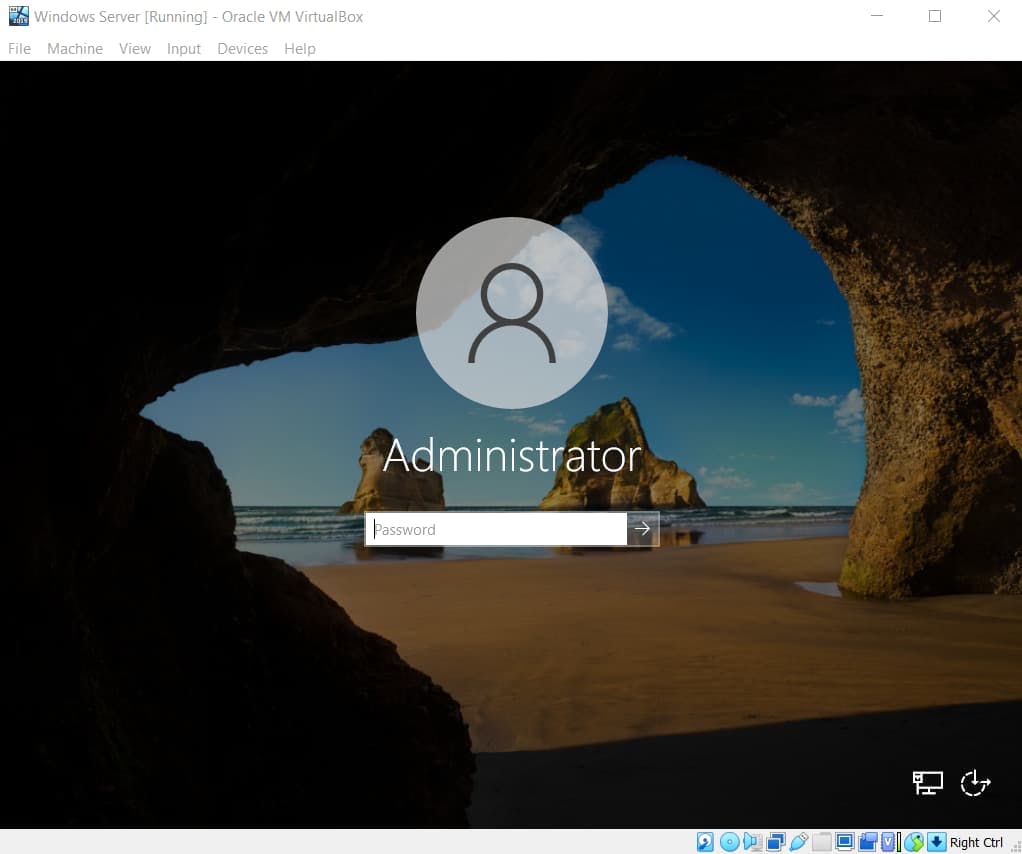
- After setting up the user account. You should be welcomed with this screen.
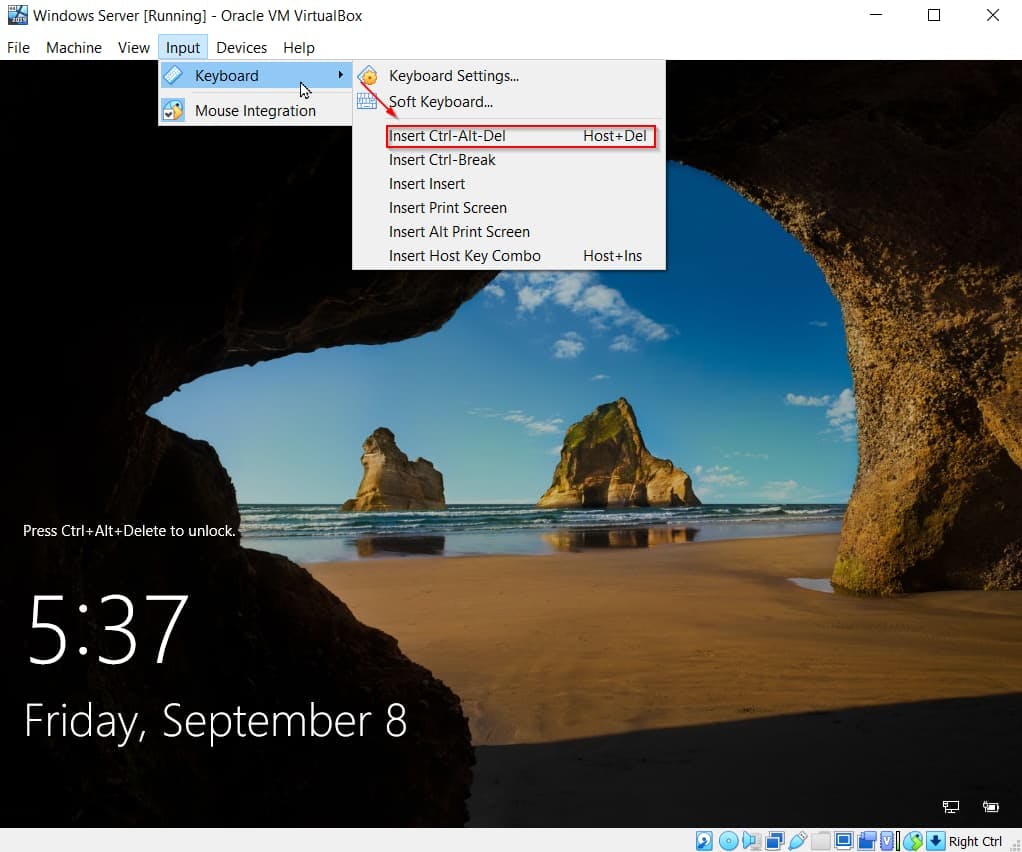
Time to unlock the screen. Click on Input, a drop-down will pop up. Click on Keyboard, and then click on Insert Ctrl-Alt-Del Host+Del.
- Log in to your account.
- You will be greeted by this screen. Congratulations!
Configuring Active Directory Domain Controller (AD DC)
Configuring the AD DC is a crucial step that forms the bedrock for user management, security, and network resources. Let's walk through the process to set up the AD DC.
We will start by changing our server name.
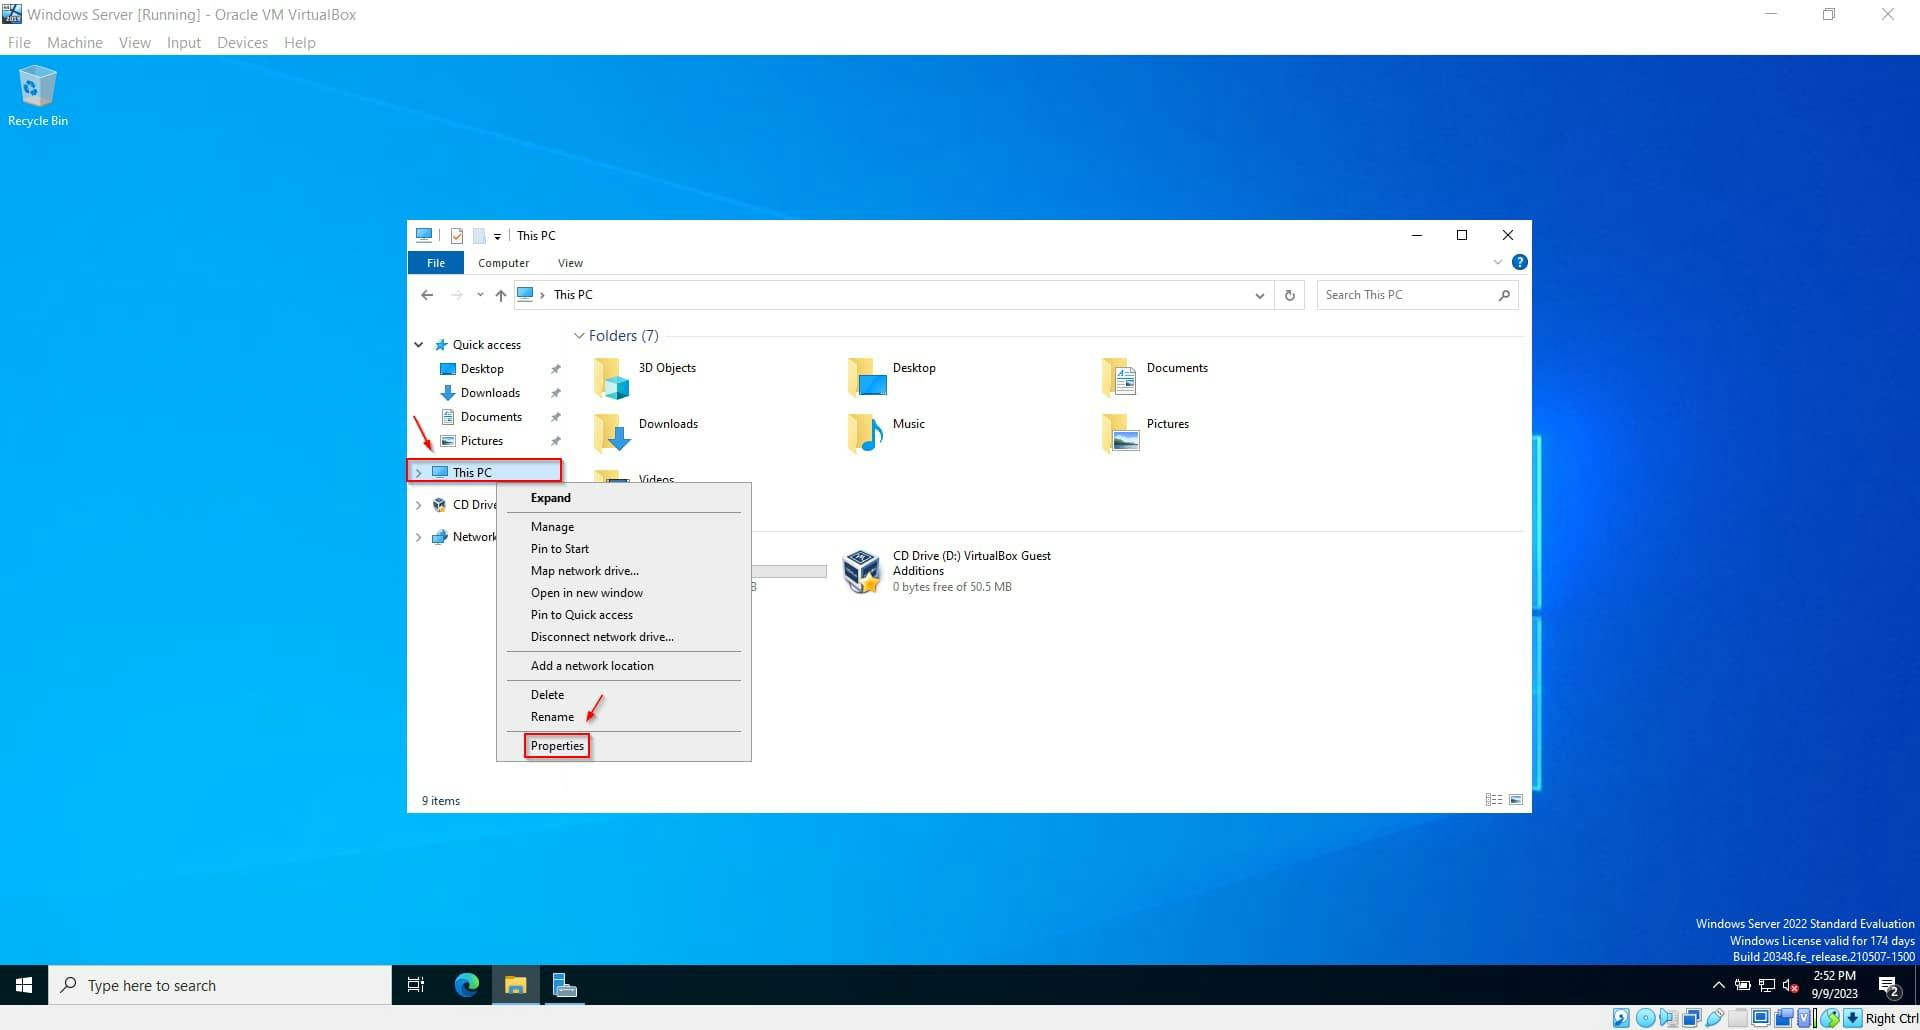
- Right-click on This PC and select Properties.
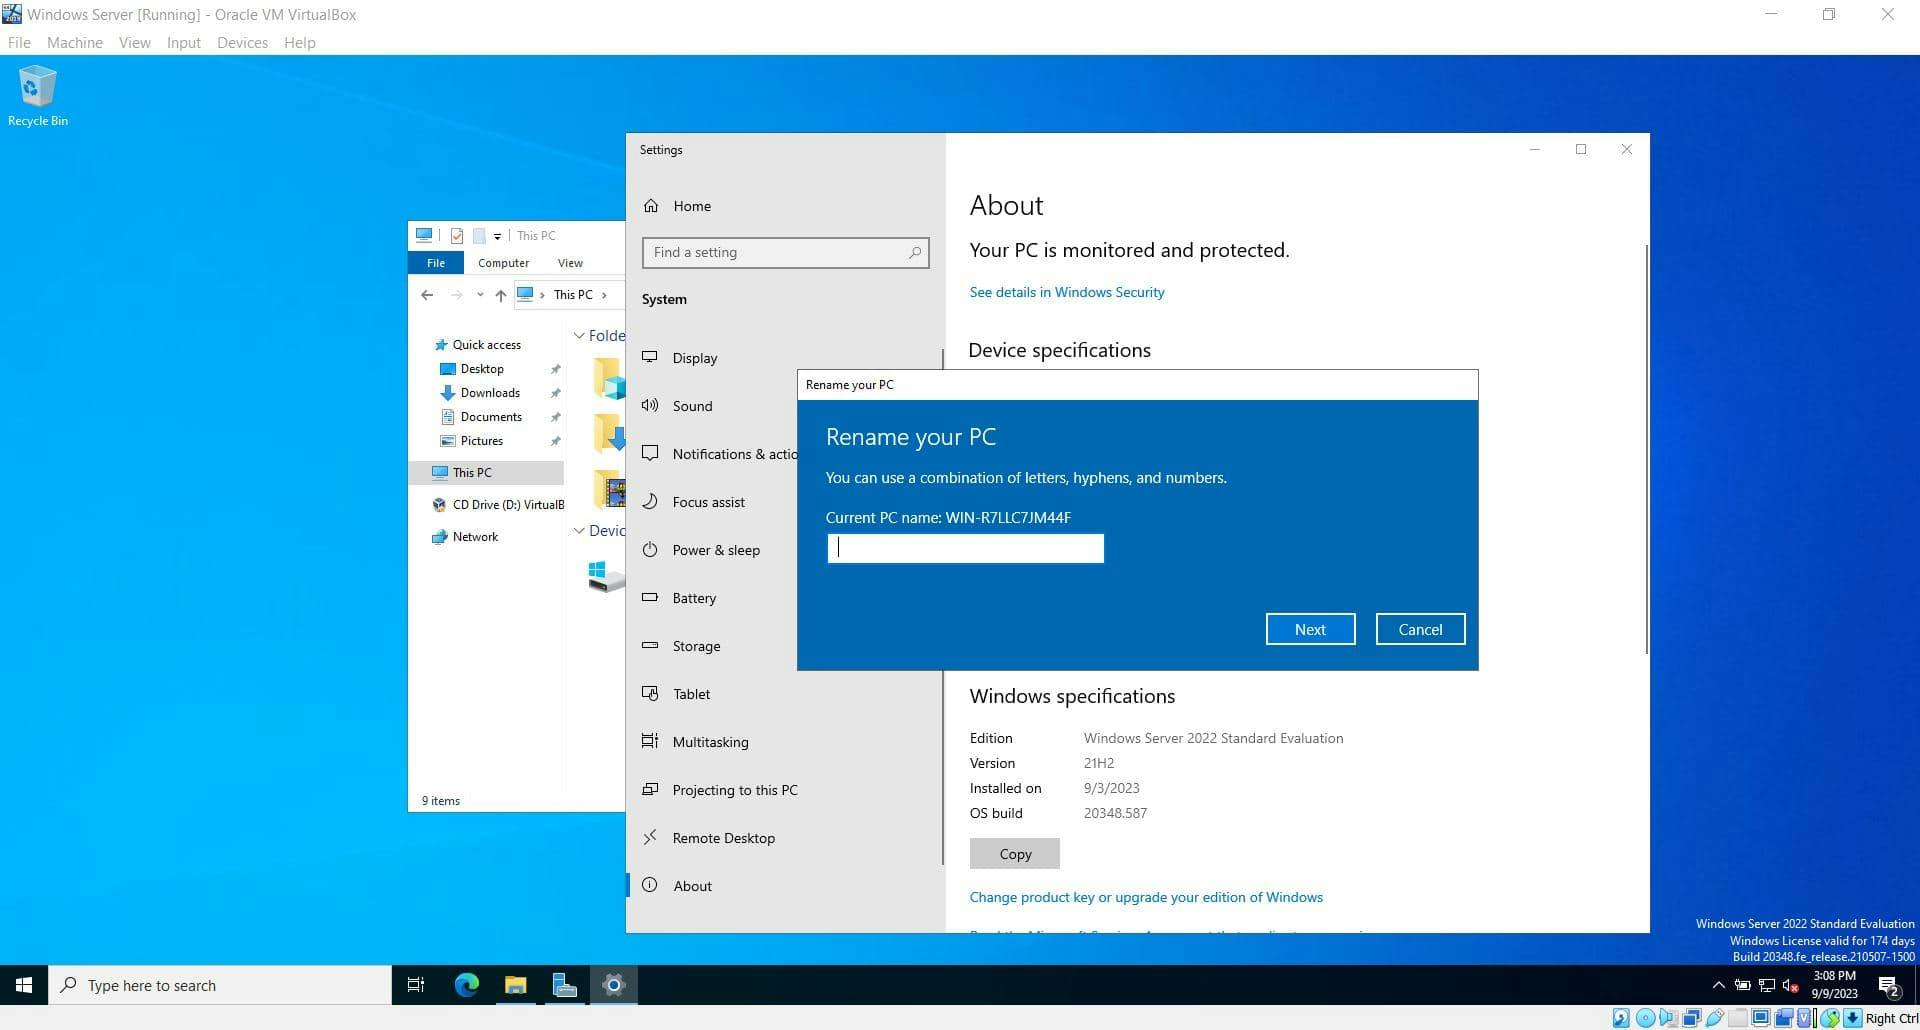
- Next, click on Rename this PC. A box will pop up with an input field; enter your desired name and then click Next. You will receive a prompt instructing you to restart your PC to apply the changes; proceed with the restart.
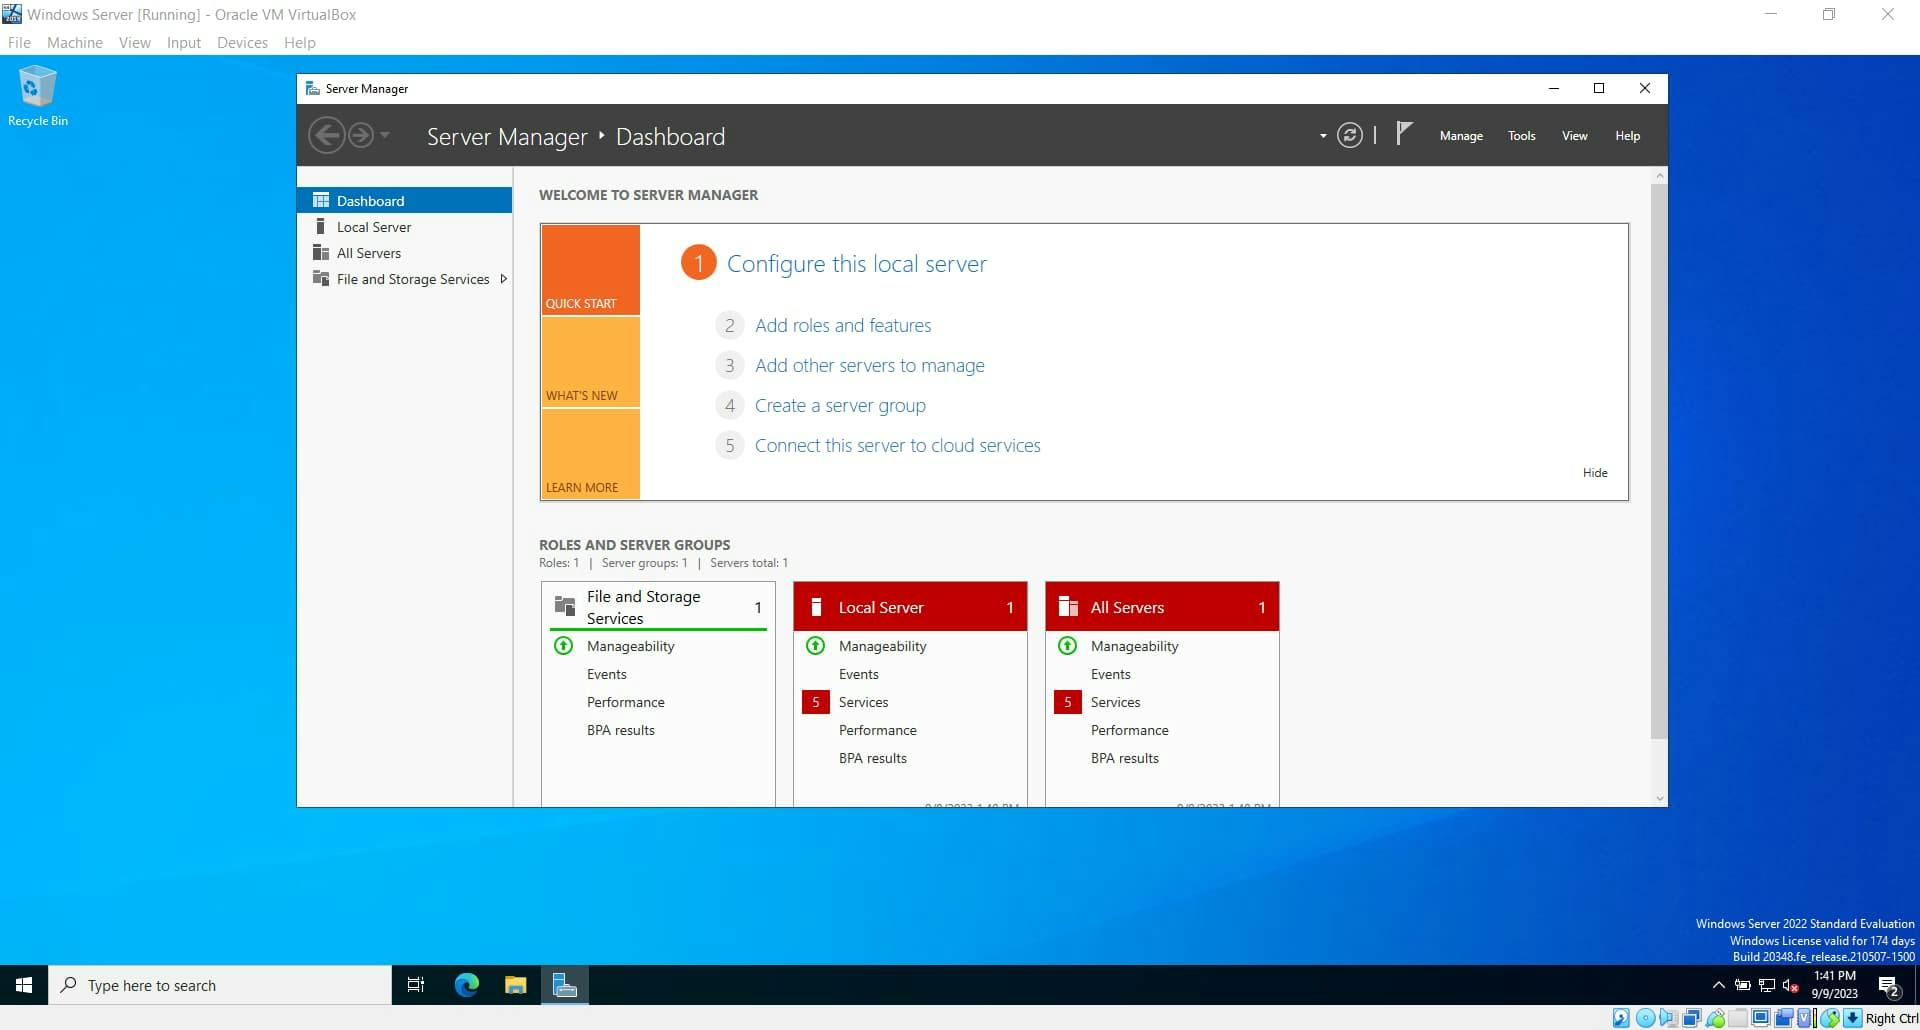
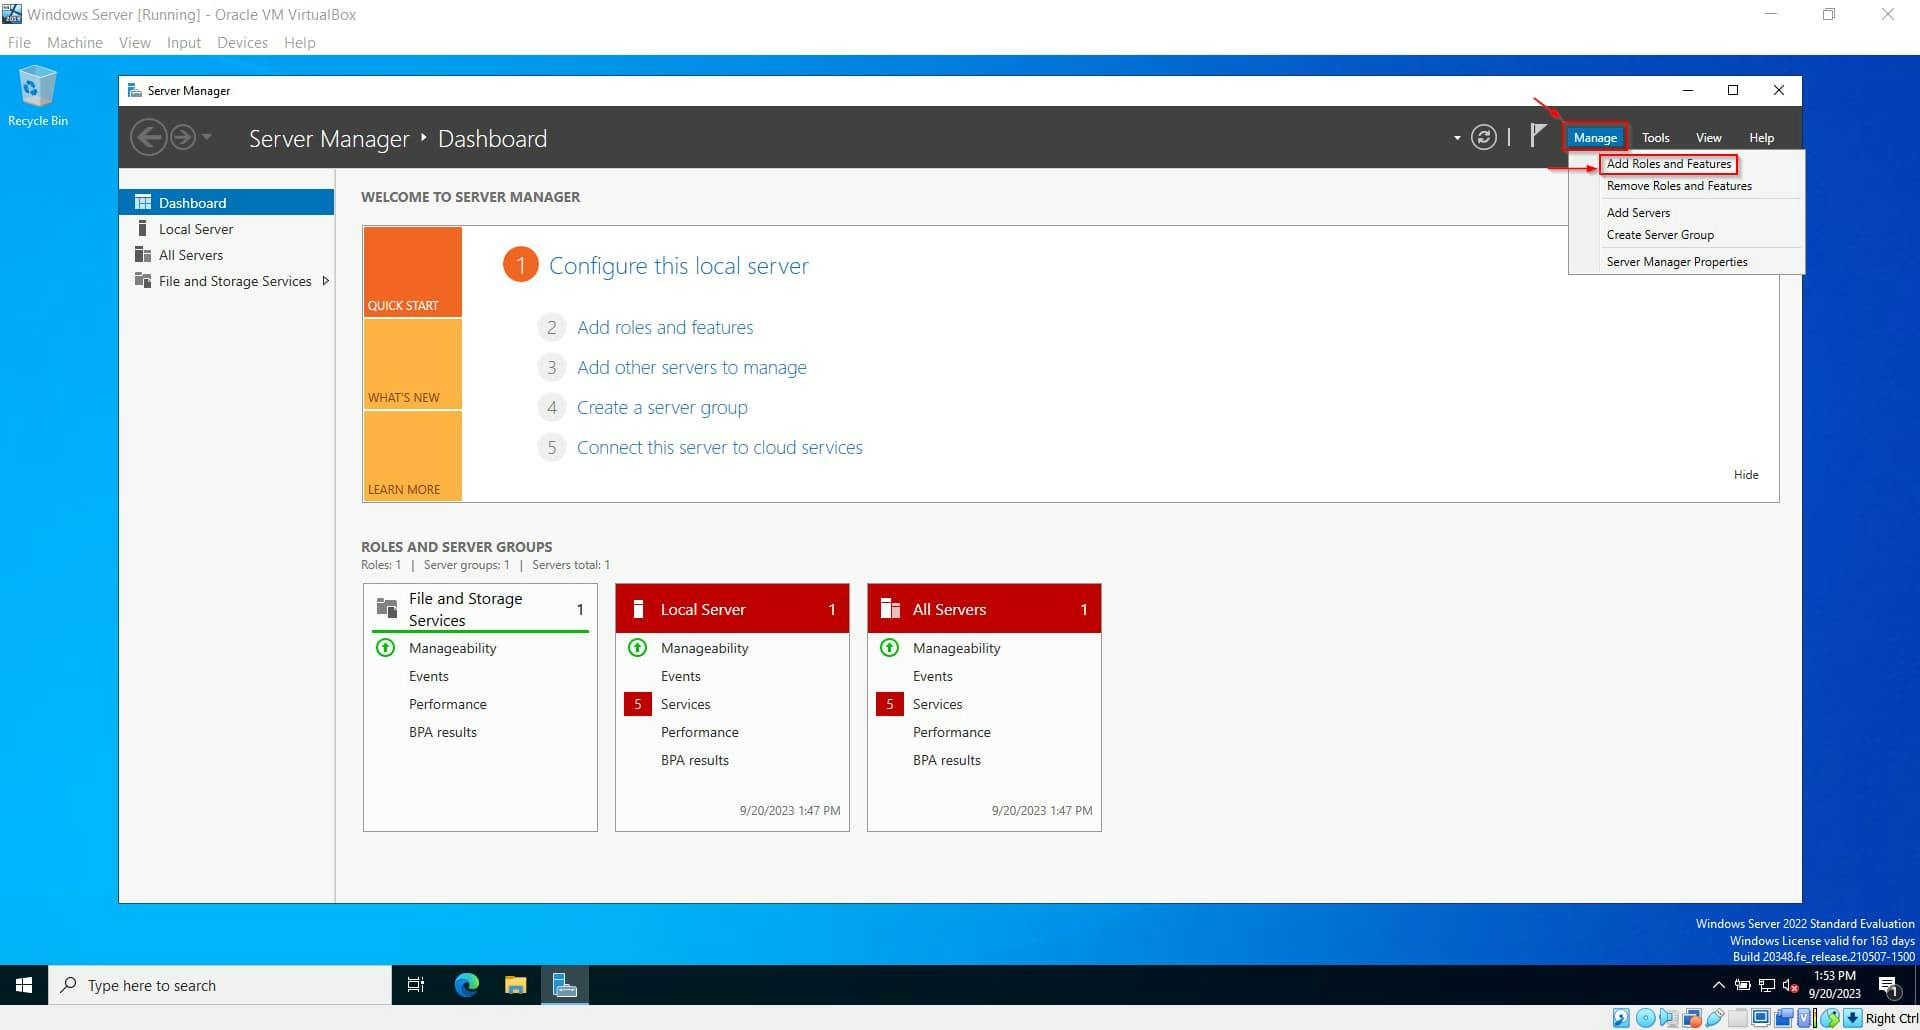
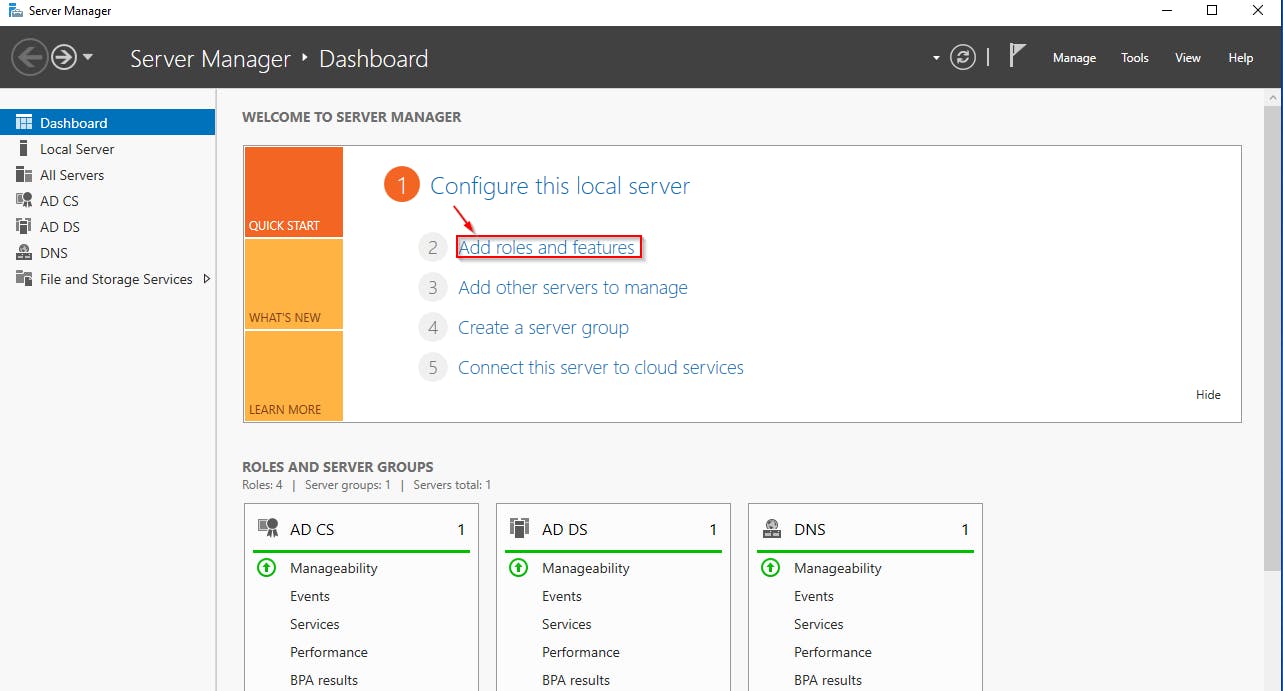
- After restarting, click on Manage. Click on Add Roles and Features.
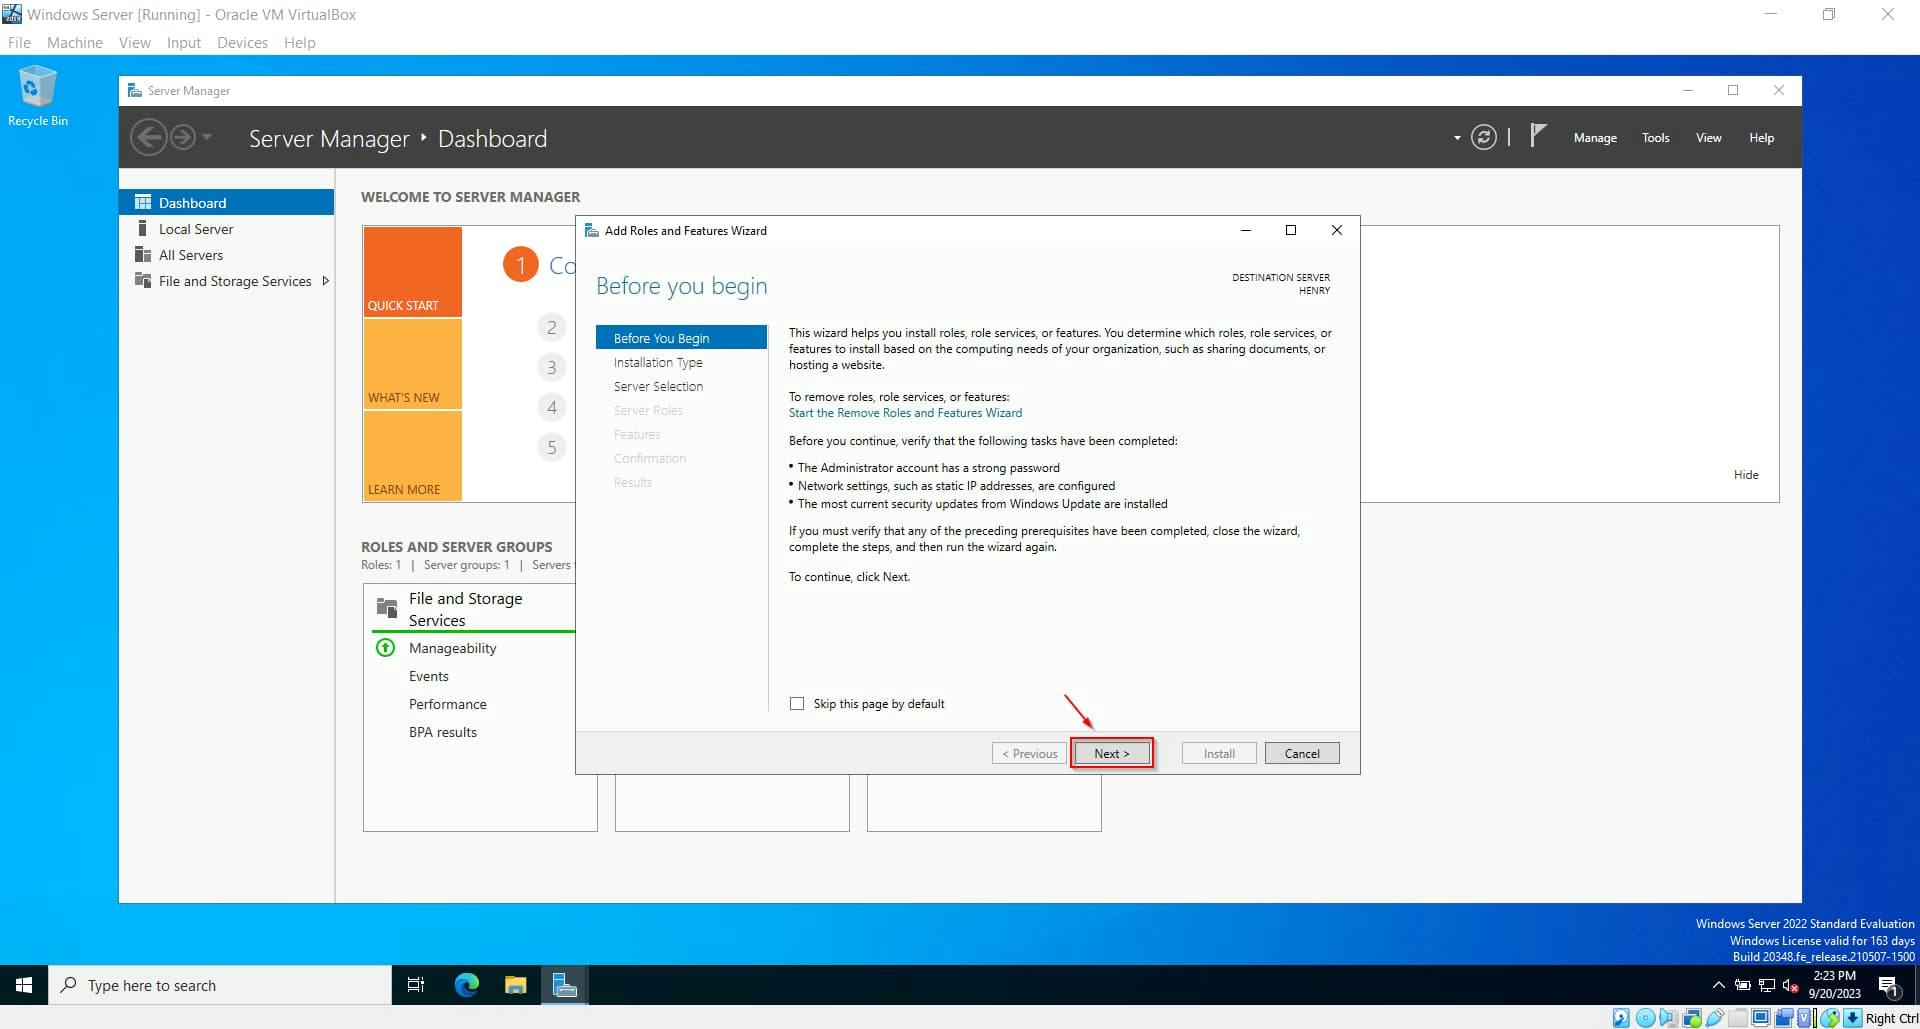
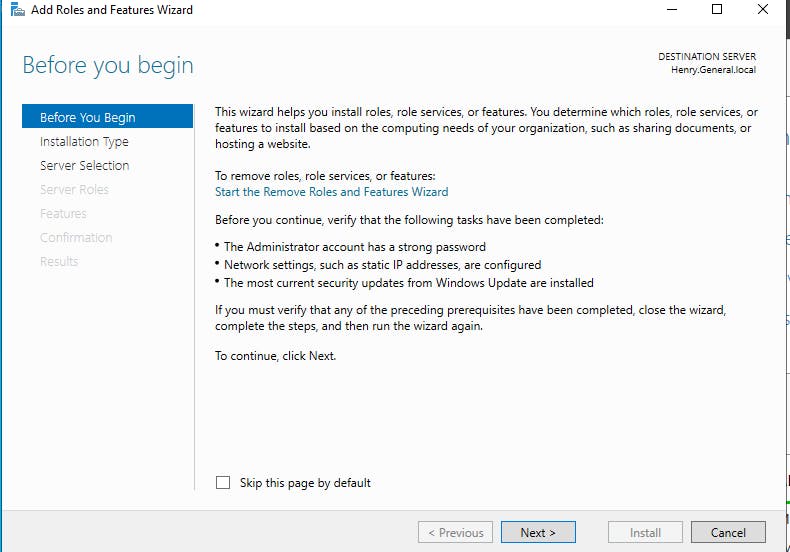
- A wizard dialog box will appear. Click the Next button to continue.
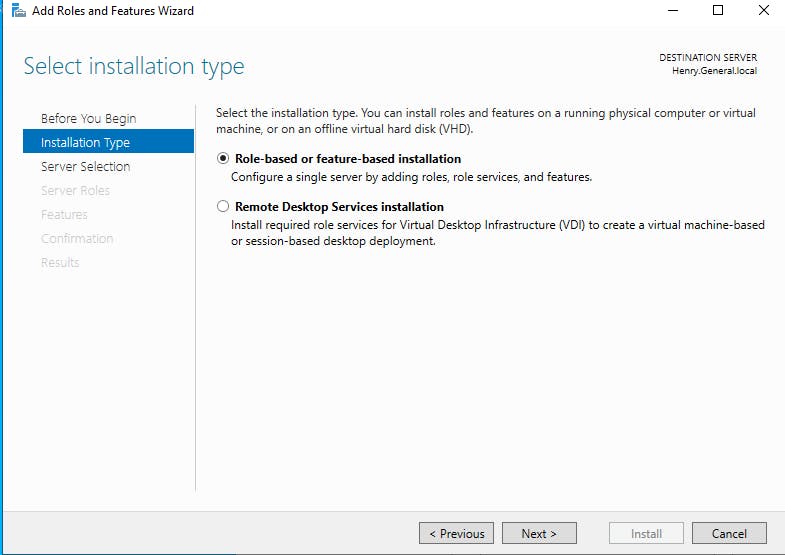
Select Role-based or feature-based installation, and then click Next to proceed.
Within the server selection panel, proceed by clicking on the Next button.
In the server roles panel, select Active Directory Domain Services, and then click Next to proceed.
A dialog box will appear; please click on Add Features to continue.
Within the features panel, click on Next to proceed.
In the AD DS panel, click on Next.
In the confirmation panel, choose Restart the Destination Server and then click Yes. Afterward, click on Install to proceed.
The installation process may require some time to complete.
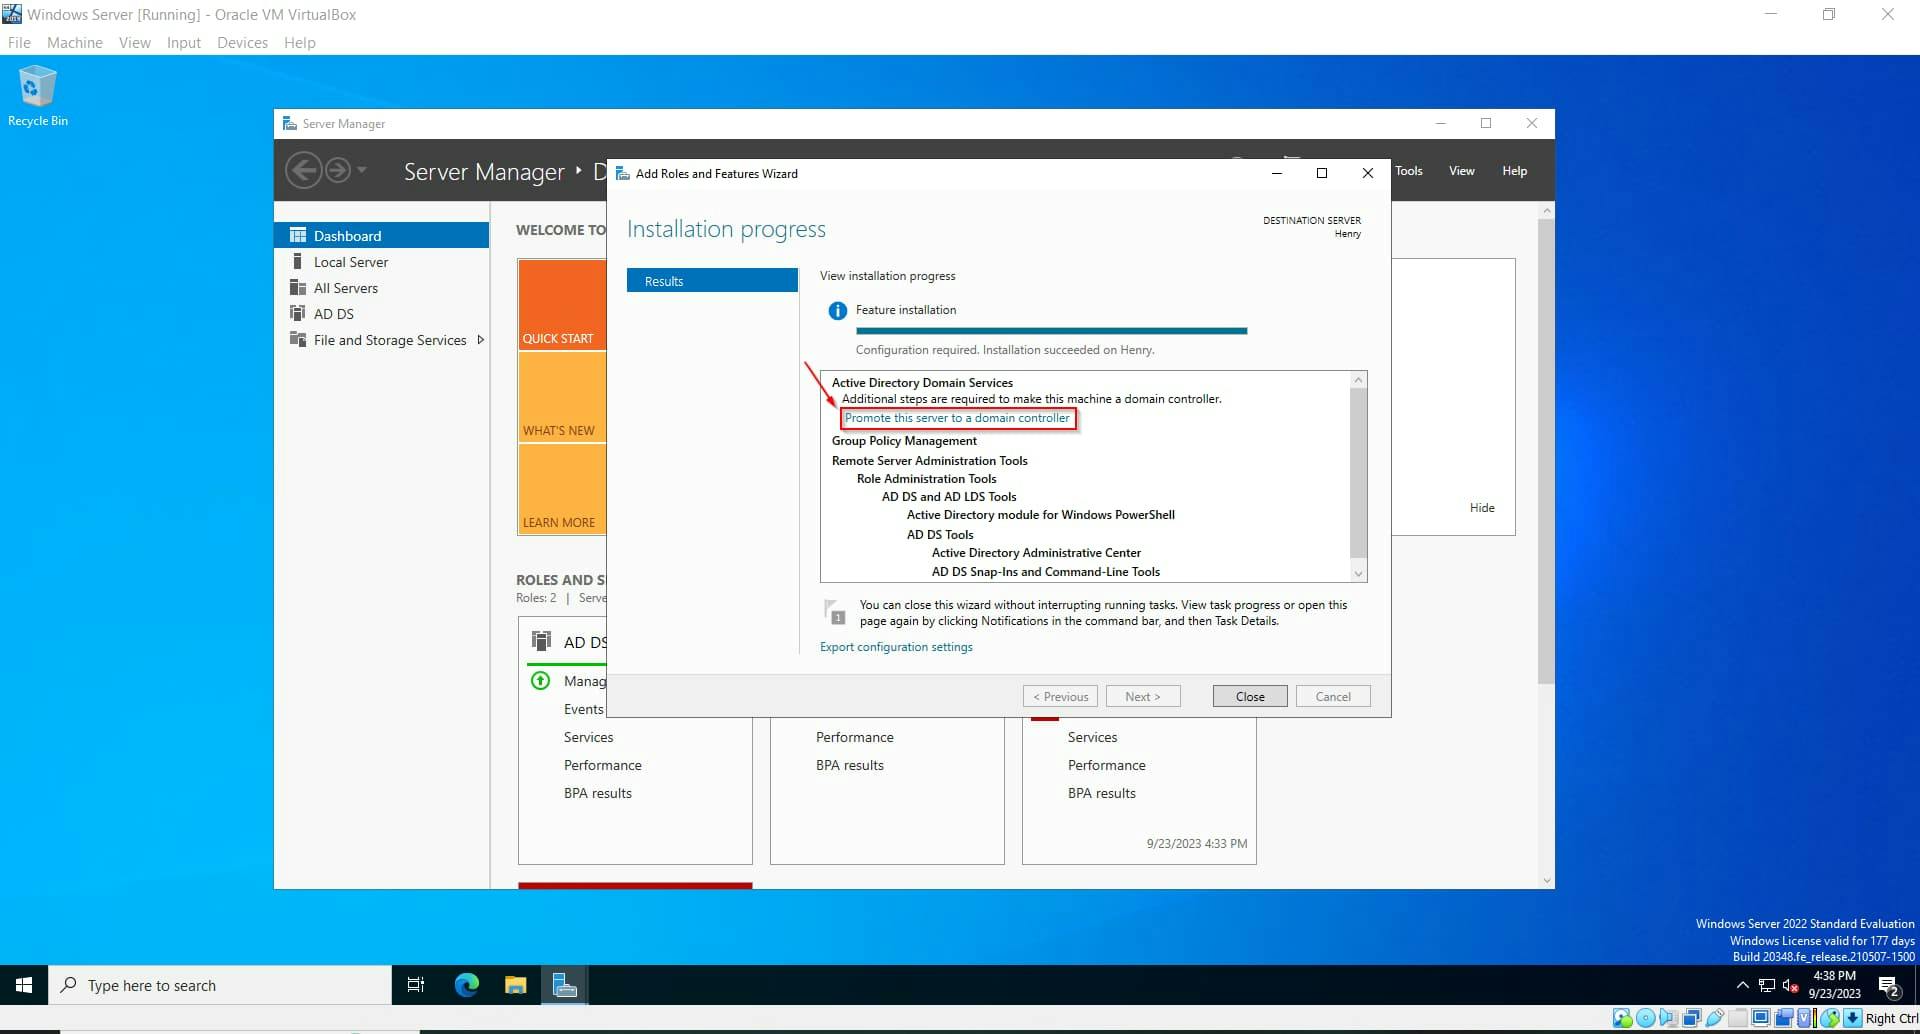
- After the installation. Click on Promote this server to a domain controller.
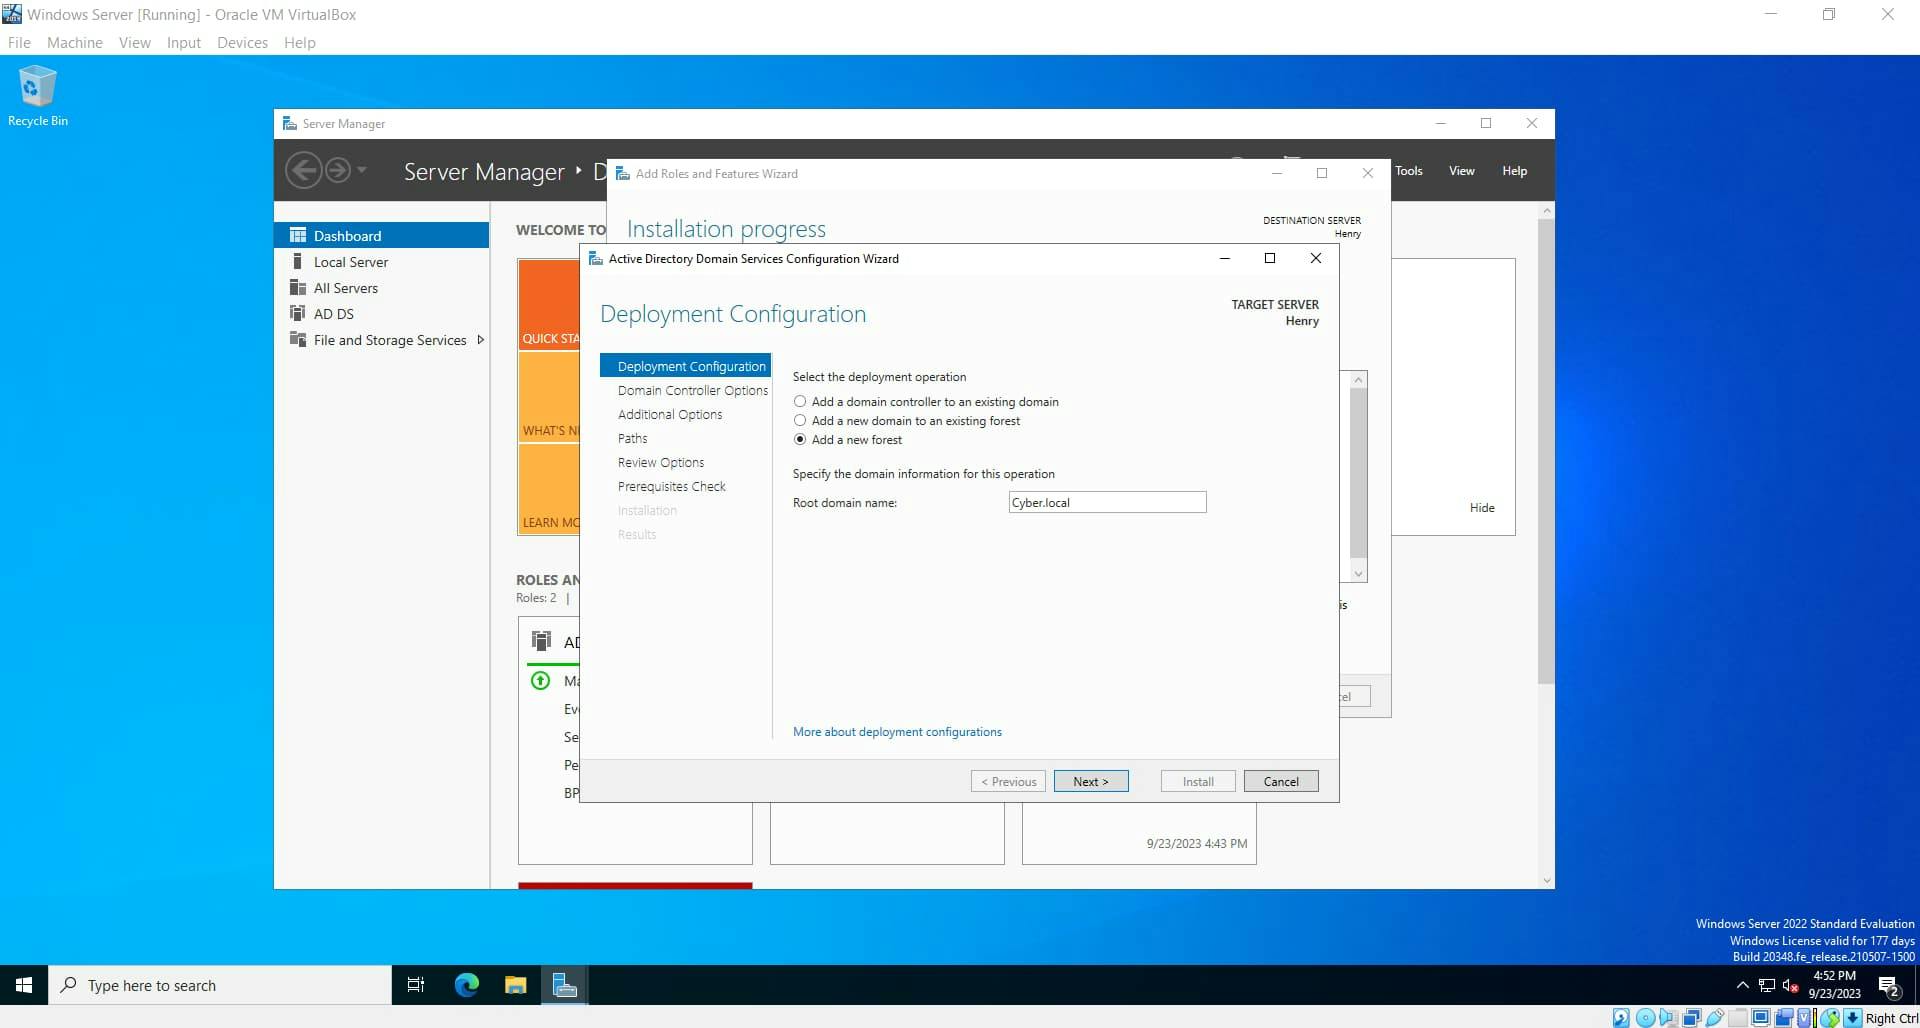
- Select Add a new forest, put your domain name (e.g. <Name_of_your_choice>.local), and click on Next.
Create a password and click Next.
Within the DNS Controller Option panel, click Next to proceed.
A NetBIOS domain name will be created for you. Once that is done, click on Next.
In the specified path, proceed by clicking Next.
In the review option panel, click on Next.
After all prerequisite checks are passed successfully. Click on Install to begin the installation.
After the installation, your server will restart automatically.
Creating AD Users
After configuring the Active Directory Domain controller, you need to create users for the network computers. This step ensures that all users can log in to the Active Directory Domain Controller from their network computers. You can accomplish this by using the Active Directory Users and Computers tool to create users, groups, and computers.
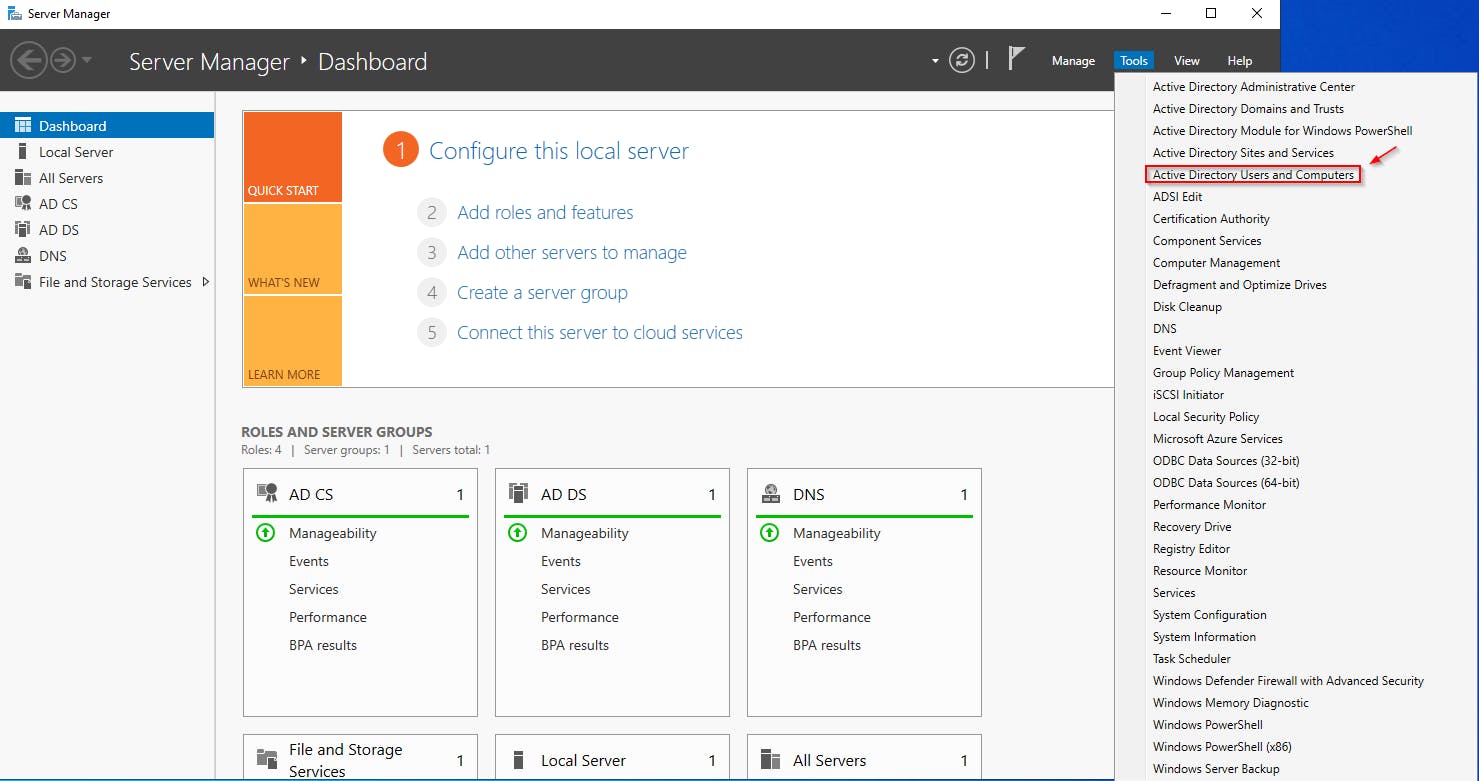
- In your server manager, navigate to the Tools menu and select Active Directory Users and Computers.
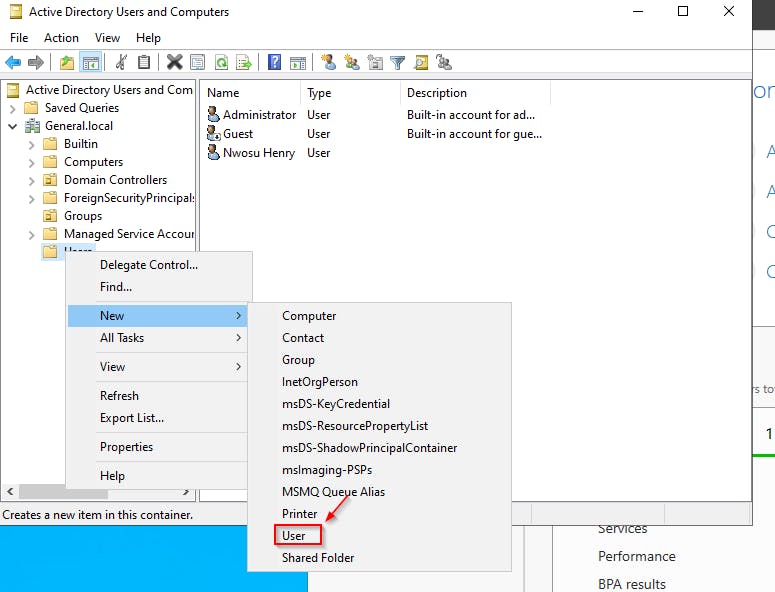
- Right-click on Users, navigate to New, and select User.
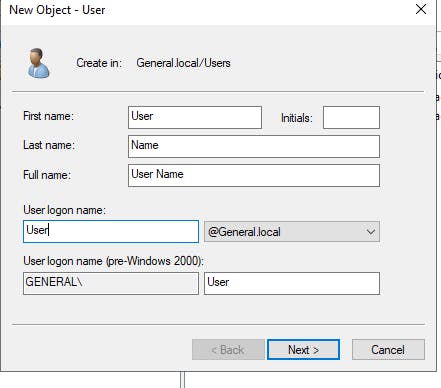
- Enter the user information and click on Next.
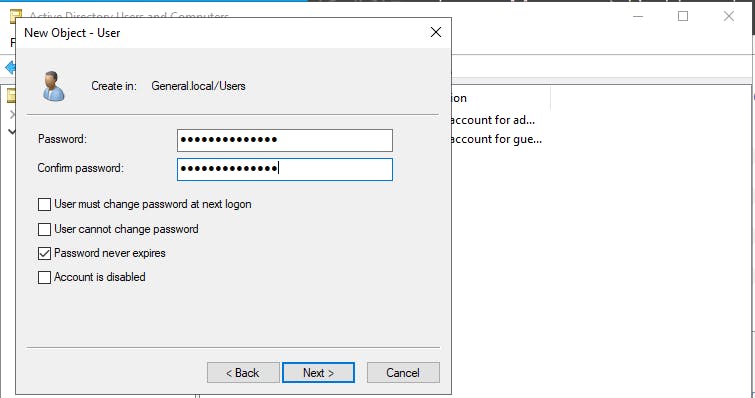
- Set your password and click on Next.
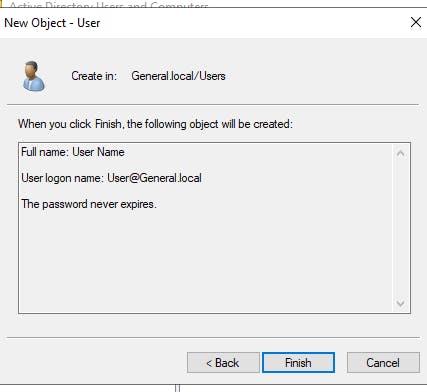
- Verify your user information and click on Finish.
Installing AD Remote Server Administration Tools (RSAT)
Microsoft AD RSAT is a set of tools and utilities for remotely managing and administering AD services.
- In the server manager, click on Add roles and features.
- Click on Next on this page.
- Select Role-based or feature-based installation and click on Next.
- Select Select a server from the server pool and click on Next.

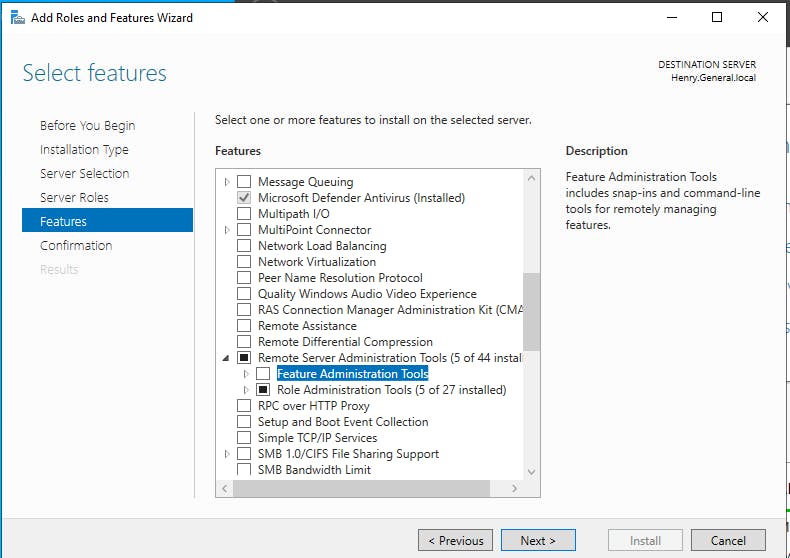
- Select Remote Server Administration Tools and Feature Administration Tools.
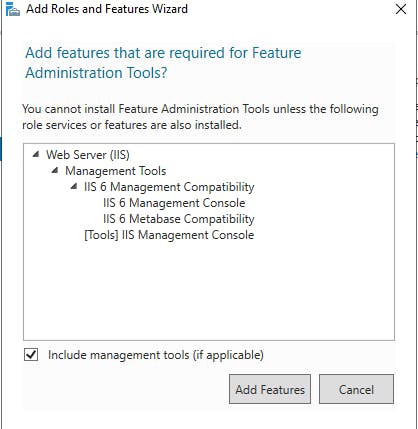
- Click on Add Features and Next.
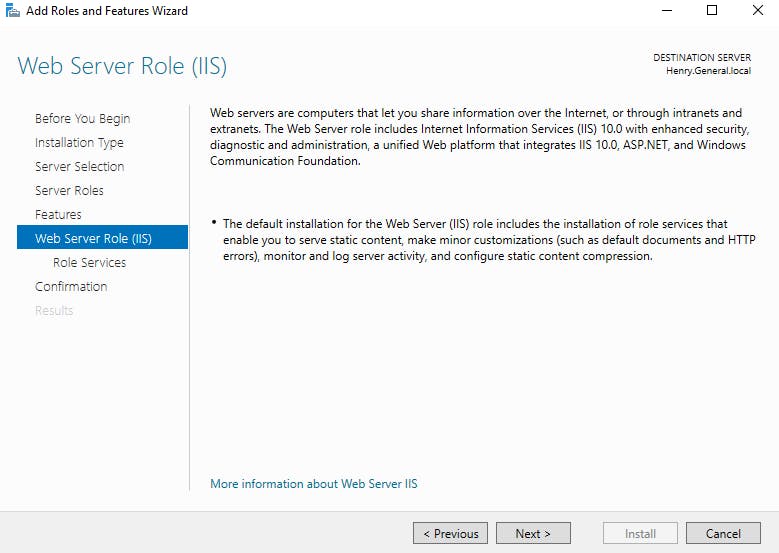
- Select Next in the Web Server Role panel.
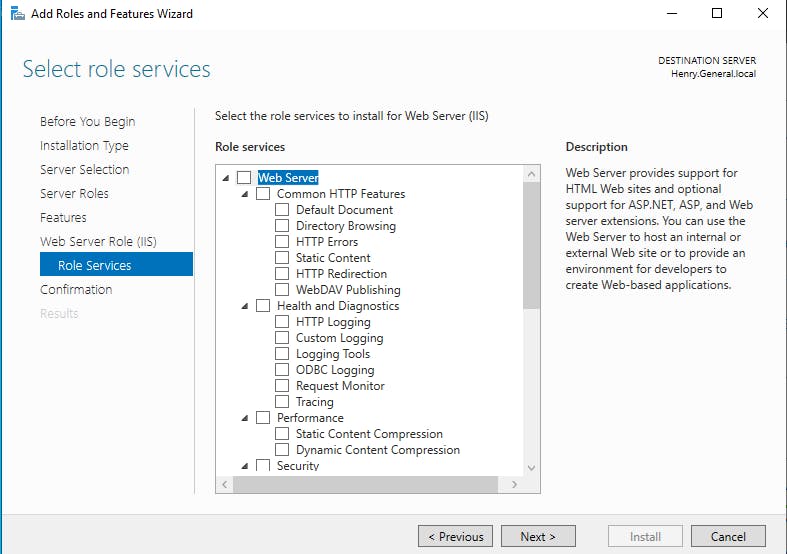
- Leave the default settings and click on Next.
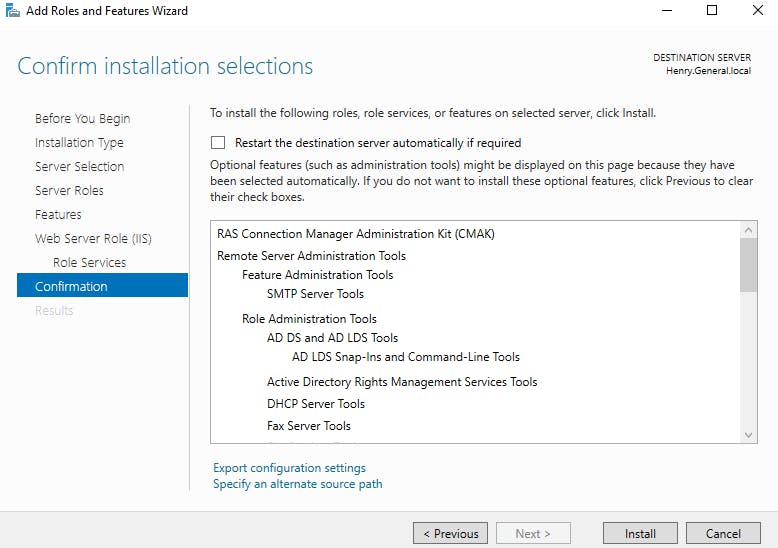
- Confirm all settings and click on the Install button. Once the installation has been completed, click on the Close button to exit the window.
Setting Up User Machines
We will set up two user machines and assign them custom names of our choice. For detailed instructions on setting up user machines, please refer to the 'Installing Windows Server.' The process is the same.
Joining Machines to Domains
Launch your Windows Server alongside the two user machines you've configured.
Go to your network and internet settings in your user machine. Select Change adapter options.
Right-click on Ethernet and select Properties.
Select Internet Protocol Version 4 (TCP/IPv4) and click on Properties.
Select Use the following DNS server addresses, enter your DC IP address in the Preferred DNS server box, and click on OK.
In your users' machine address bar search for domain and select Access work or school.
Click on Connect and select Join this device to a local Active Directory Domain.
You will be prompted to enter your domain username and password. Enter your details and click on OK.
Change the account type to Administrator, and click on Next.
Select Restart now.
Conclusion
AD streamlines IT management, enhances security, and boosts productivity. It centralizes the management and organization of information related to network resources, including user accounts, computer systems, printers, and more. It structures and hierarchically organizes this data, making it easier to manage and secure resources across an organization's network.